Is your DIY ceiling fan installation harder than you thought?
As we all know, some DIY projects take longer than others. How to install a ceiling fan may seem like an easy project; but could actually end up costing more money than paying a professional, or even worse, lead to serious injuries.
Odds are, a “quick” ceiling fan installation could fall into this category. The good news is, we are here to help! We have put together a concise guide to properly install a ceiling fan using the 7 steps below to ensure proficiency and safety. First, let’s cover the tools and materials needed for installation.
Materials and Tools For Ceiling Fan Installation
Materials
-
Electrical Tape
-
Ceiling Fan
Tools
-
Screwdriver (4-in-1)
-
Power Drill
-
Drill Bits
-
Wrench
-
Ladder
How To Install a Ceiling Fan In 7 Simple Steps
Whether you’re replacing an existing ceiling fan or adding one to a room without one already, you can follow these 7 easy steps to install your ceiling fan in a flash.
1. Clear the Room You Are Working In
The first thing you have to do before installing anything is to clean the room you plan to work in. Since you’re installing a fan, you’ll need a ladder. You don’t want unnecessary items lying around posing a threat to your safety while you’re up on the ladder.
You also don’t want any distractions around that can cause you to misstep or skip a step while you work. Instead, clean up the area and remove all potential distractions to ensure your safety.

2. Prepare the Ceiling for Installation
Now that you’ve cleared the space, you need to prepare it for your light fixture. To prepare your space, make sure that the ceiling is large enough for the desired fan. You also want to make sure that the light switch in the room is wired correctly since the fan will need to connect to it for use.
Before getting started, check the ceiling section for adequate wiring, support, and if you need a special permit, per your building code. If you feel hesitant towards any of those things, it’s better and safer to call in a professional.
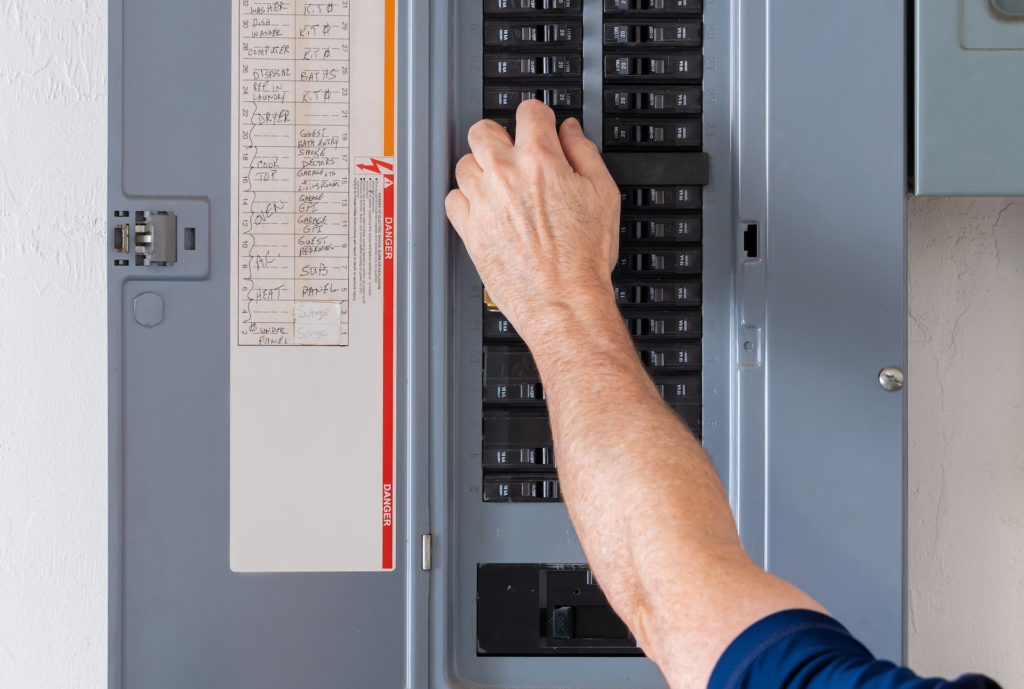
3. Power Down the Circuit You are Working On
Once the space is clear and prepped, you can go ahead and shut off the power to the section of the house you will work in. If you skip this step, you risk accidentally electrocuting yourself during the installation. As mentioned before, your safety is of the utmost importance, so make sure you don’t skip this step.
You might want to consider placing some markers over the electrical box switches to let people know not to flip them back on as you’re working.
4. Mount the Junction Box and Mounting Bracket
Once you’re up on your ladder, you can now install the junction box for your ceiling fan. To do so, you’ll insert the brace into the hole on the ceiling and twist it until it locks into place with the ceiling joist.
Once you’ve done that, you can attach the U-bolt bracket in the center–bolts facing outward. Then, you can attach the cable wire, move the junction box up, and secure the bolts on the side.
From there, you can line up the mounting bracket with the junction box and slip the wires through its center and tighten the bolts with a wrench. You must tighten the bolts as much as possible during this step because the mounting bracket is what supports the fan on the ceiling. If the bolts are loose, you may risk the fan coming down.
5. Install the Downrod to Your Ceiling
For this step, you’ll want to set the fan on a flat surface. Make sure you have the correct size downrod for your ceiling fan size. You should make adjustments before fully installing the fan to gauge the downrod angle correctly. If the angle is too sharp after installation, you’ll have to take the fan down and reinstall it again, which could lead to expensive repairs.
The downrod is the part of the fan that extends the distance from your ceiling to the actual fan blades. Ensuring the angle is correct for your depth means minimizing potential hazards, injuries, and other risks. This piece attaches to the fan canopy.
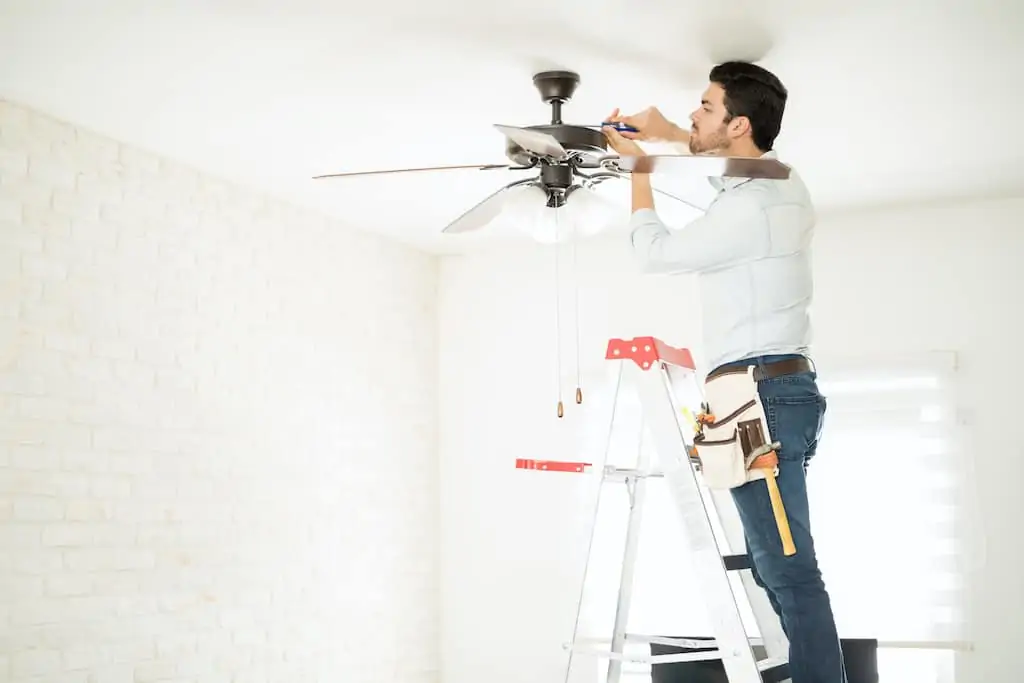
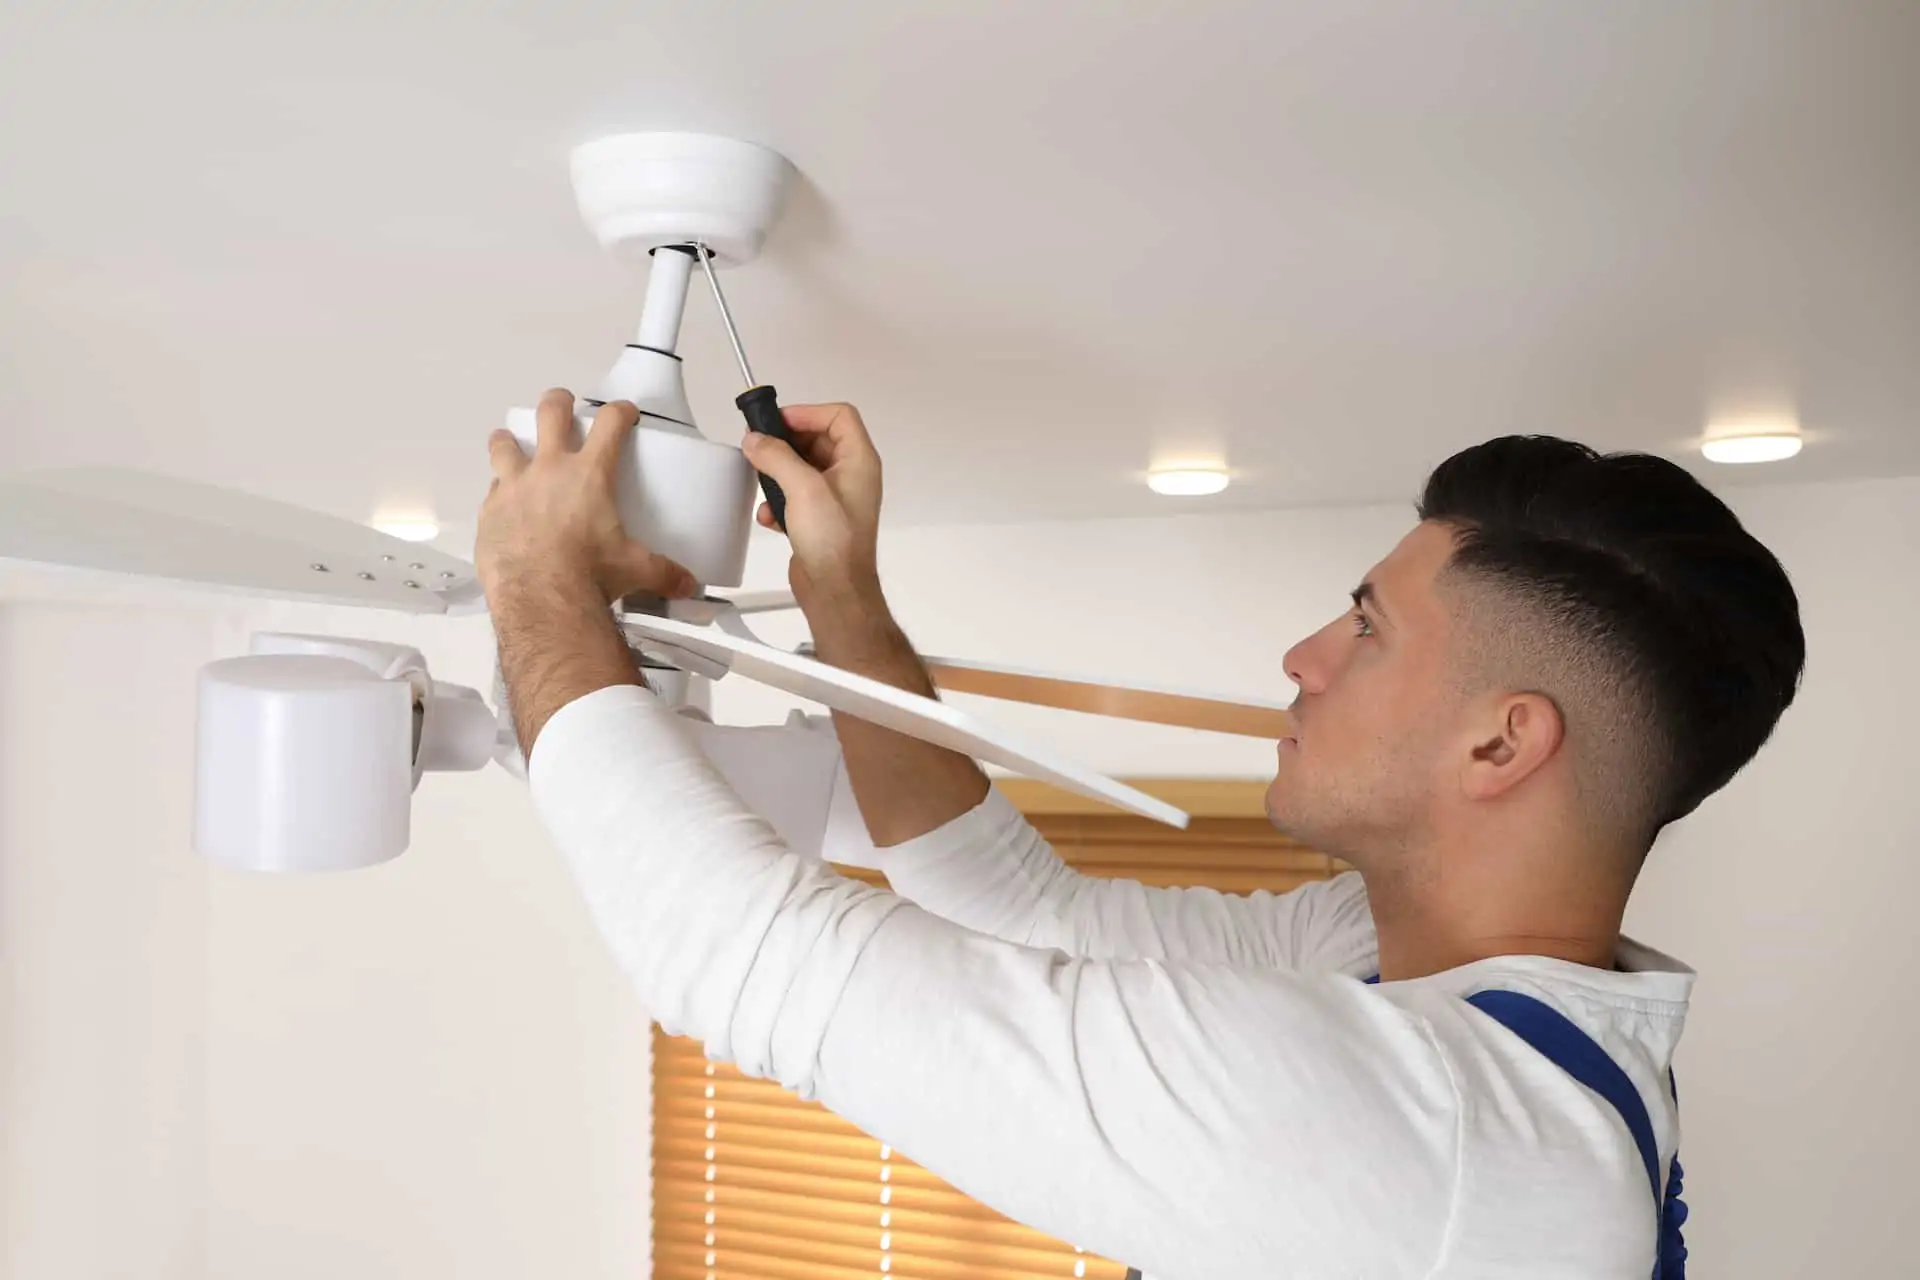
6. Install the Ceiling Fan
For your safety, you should have someone with you in the room for support in case something should happen while you’re up on the ladder during installation. You can then attach the fan motor wires to the ceiling wires according to the same color pairings. Once they’ve all connected, you can gently nudge them into place in the junction box.
Then, you can attach the ceiling plate to the mounting bracket and secure everything with your screwdriver or power tool.
7. Add the Fan Blades
After completing all previous steps, all that’s left to install are the fan blades. For this part, it’s best to follow the instructions included with the fan packaging, as they can help guide you through the specifications.
For some general help, make sure you have the right tools and bolts, and have someone with you for support and to help pass up the blades while you’re on the ladder.

When to Call In the Experts
If you feel uncertain about how to install a ceiling fan, it’s ok. Safety should be your primary concern!
With our affordable options, you can get professional installations done by our trained and friendly team. At 4Front Energy, we install anything from ceiling lights to HVAC units while meeting building codes and keeping your safety our first priority.
Contact us today for a free consultation!