A ceiling light can really tie a room together, but installing one is no easy task.
If you don’t have prior electrical experience, odds are this will be a true test of your DIY skills. If you need a ceiling light or any assistance with LED lighting, reach out to 4Front Energy! If you’re confident you know how to install a ceiling light on your own, here are 7 of the key steps to follow.
But first, here are some of the tools and materials you’ll need.
Materials and Tools For Ceiling Light Installation
Materials
-
Electrical box
-
Light fixture
-
10-32 ground screw
Tools
-
Stepladder
-
4-in-1 screwdriver
How to Install a Ceiling Light In 7 Simple Steps

1. Remove the Old Light Fixture and Test to Make Sure the Power is Off
When removing the old light fixture, make sure to turn off the power on the main circuit panel. Remove the screws and lower it.
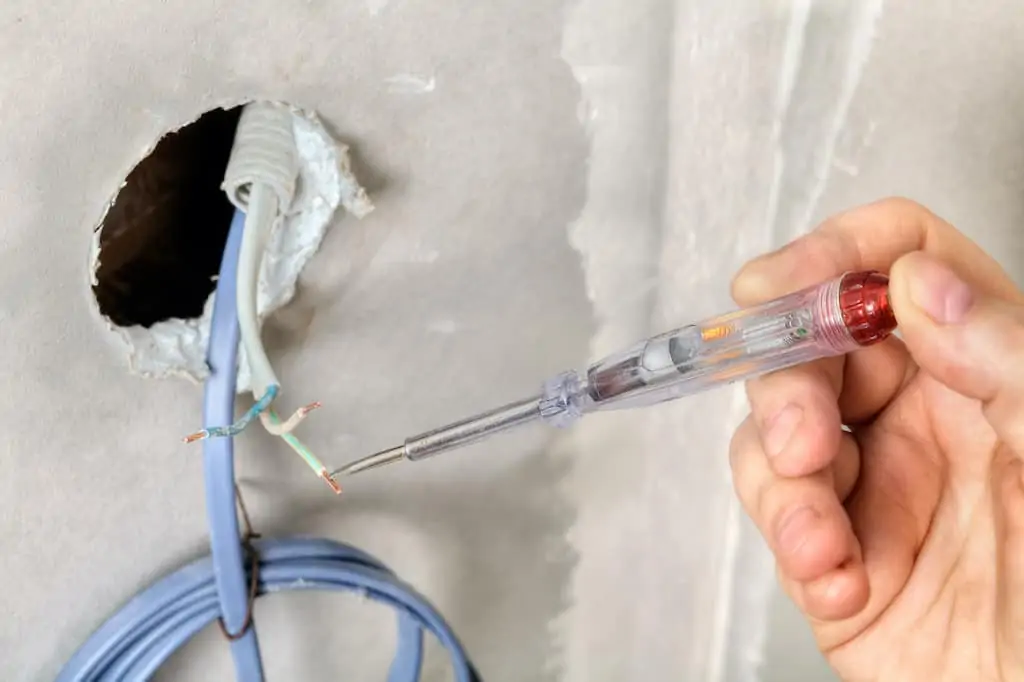
Using a non-contact voltage detector, test to make sure the power to all the wires in the box is completely turned off (ensure that the light switch is turned on). If the tester lights, switch off circuit breakers or loosen fuses one at a time until the tester light goes off.
Next, disconnect the wires from the light fixture. Important: If your home was wired before 1985, don’t use fixtures that require 90-degree-rated supply wires. Fixtures that are rated for at least 90 degrees C will generate enough heat to damage older wires and potentially cause fires.
2. Make Sure Your Electrical Box Has the Strength and Capacity For Your New Fixture
If you have chosen a heavy light fixture, look at your electrical box in the ceiling to make sure it will support the weight. Any electrical box that is threaded to access 8-32 screws can hang up to 50 pounds. In addition, ensure that your electrical box is securely fastened.
For light fixtures that are over 50 pounds, you’ll need to support them independent of the electrical box. This can be done by installing a fan brace box.
3. Testing For a Ground Wire
Next, turn the power to the light on at the main circuit panel and turn the light switch on. Use the non-contact tester to ensure that there is power to the hot wire.
Then, touch the leads of a neon voltage tester between the hot wire and the metal box. Or, you can touch the leads of the voltage tester between the hot wire and bare copper ground wire if there is one.
If the tester lights up, you’re in business!
If it doesn’t light up, that means there is no ground. Turn off the power at that main circuit panel and reach out to a licensed electrician. Installing a ground wire is very difficult and should only be done by a professional.
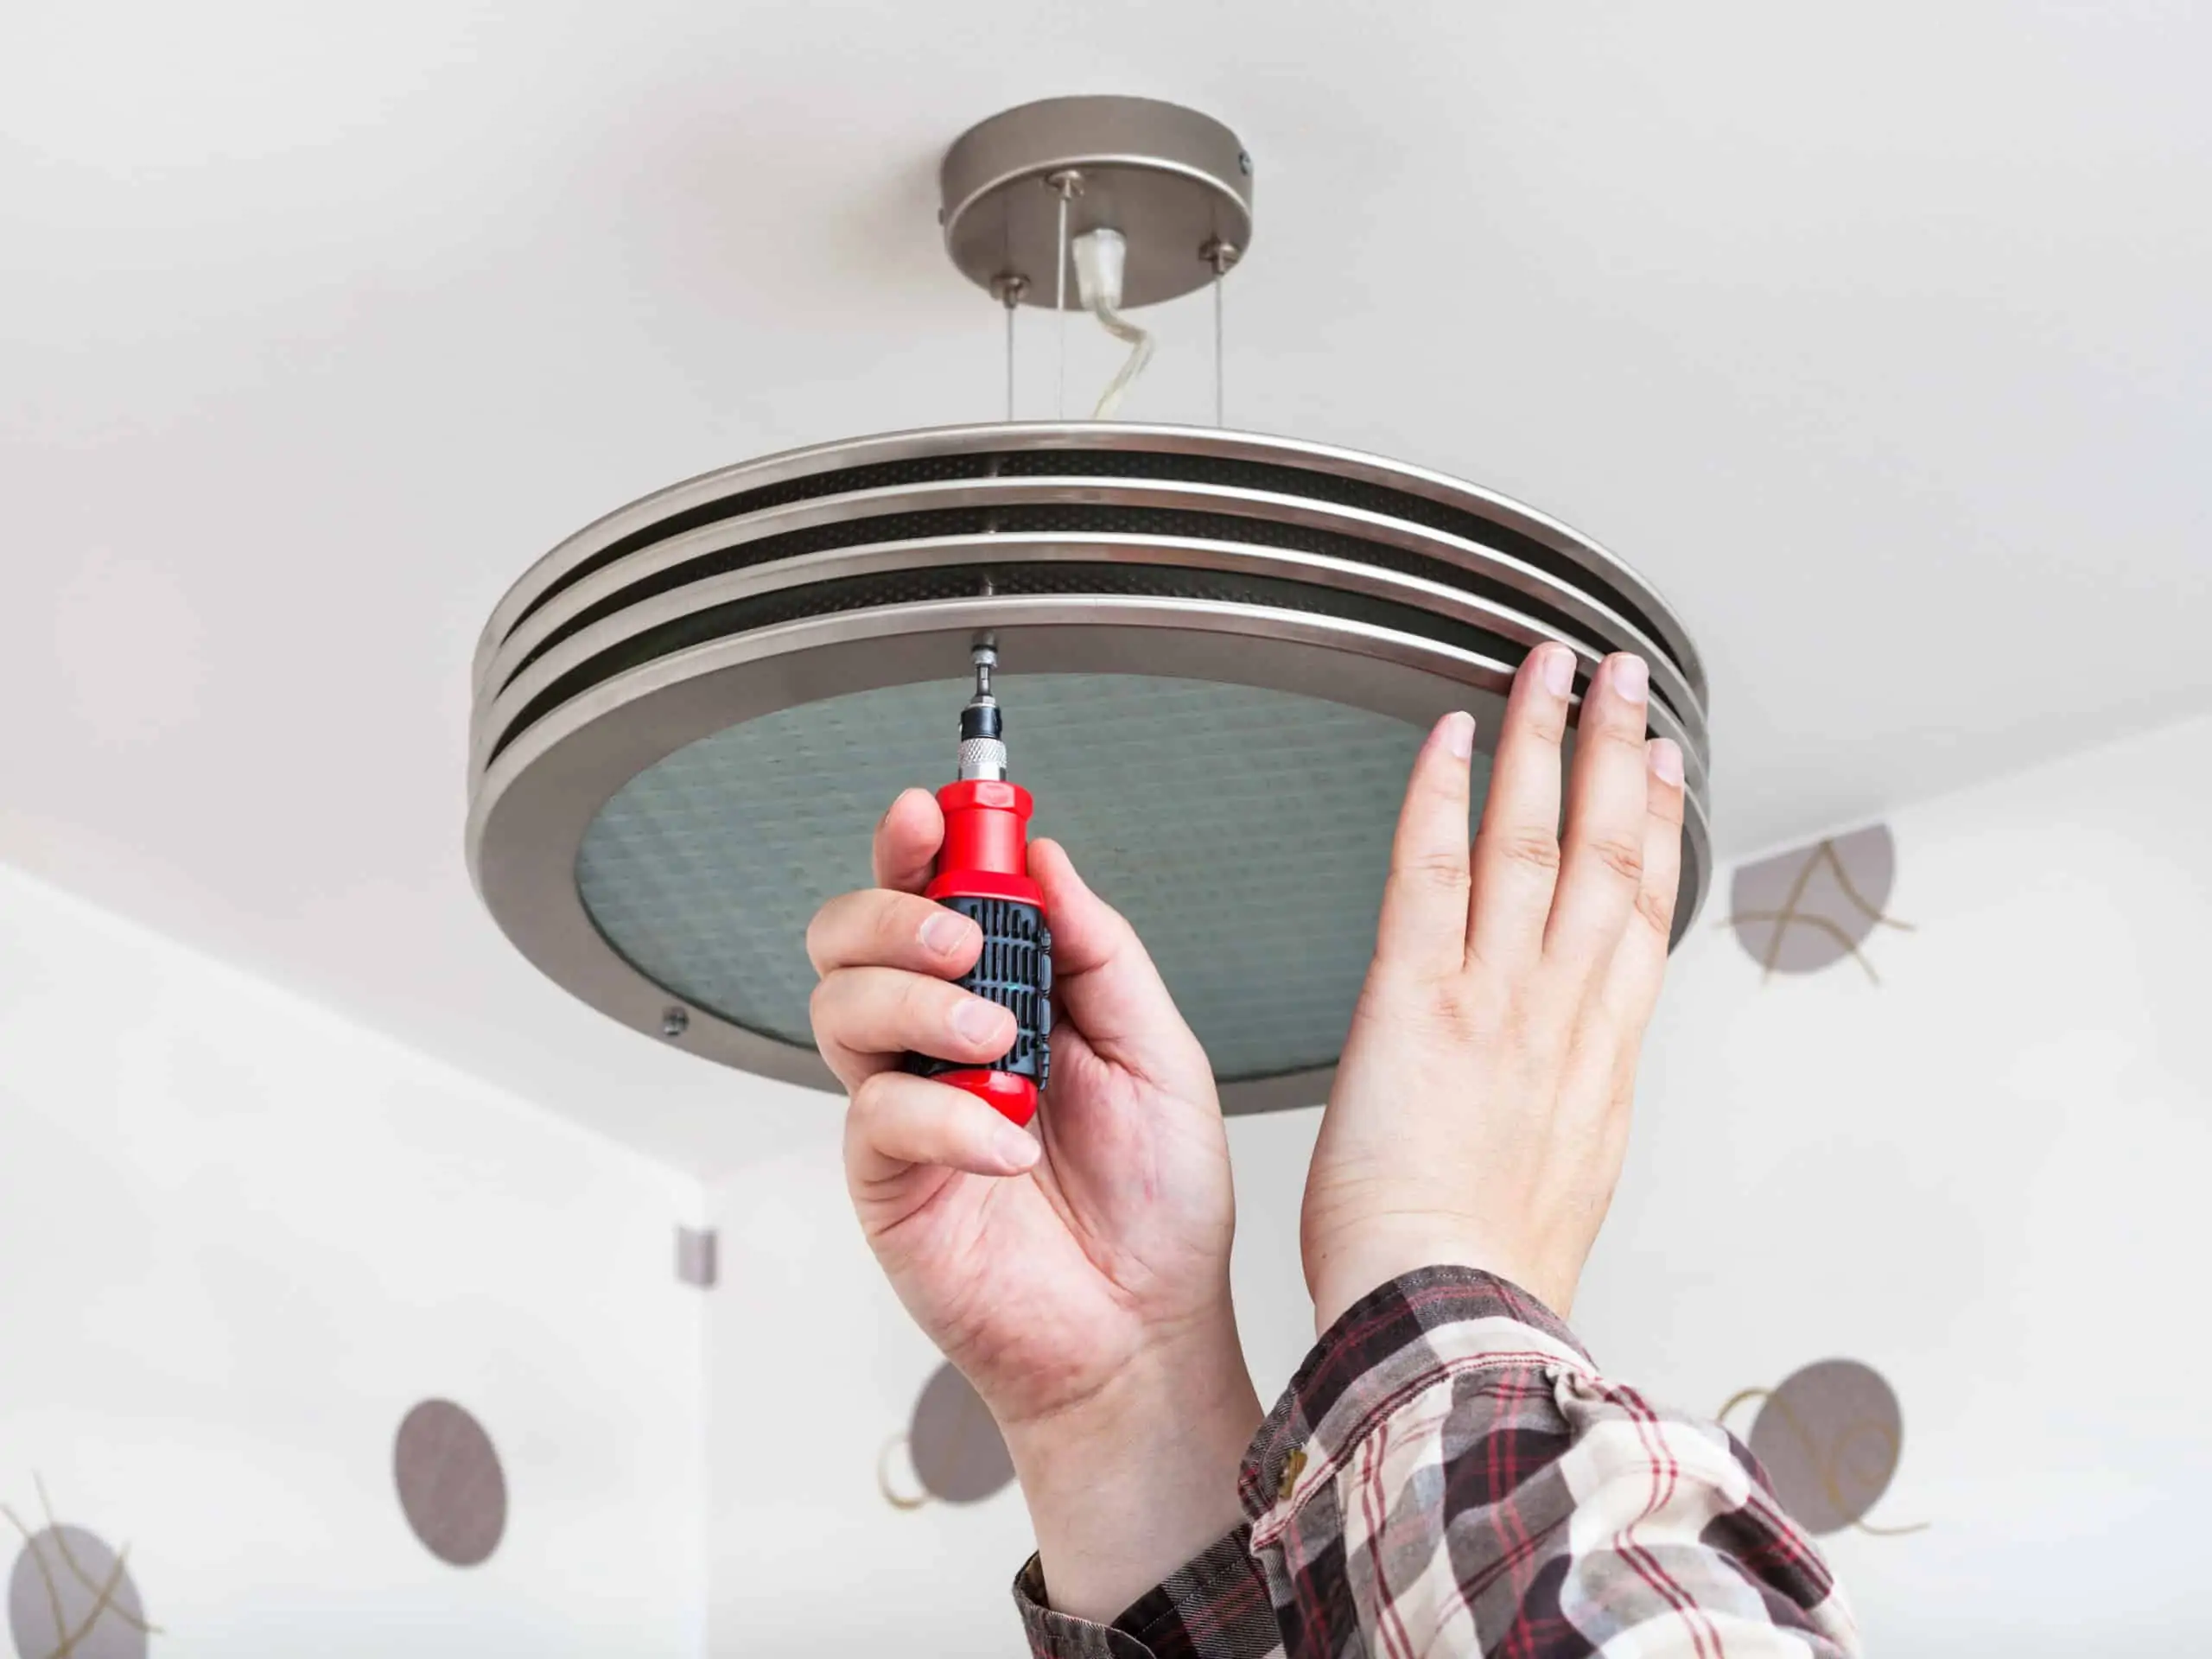
4. Attaching the Fixture
Next, align the back of the canopy (or the side that fits against the ceiling) with the crossbar and adjust the length of the pipe until there are around 3/8 in. of threads on the screw collar loop. Lock the threaded pipe in this position by tightening the locknut against the crossbar.
The key to a successful installation is to assemble and adjust the parts before you get on the ladder. To do this, first, thread the screws or pipe through the crossbar. While the picture is on the ground, line up the crossbar with the top of the canopy and adjust the screws or pipe in or out until about 1/4 to 1/2 in. is protruding through the canopy. Then, mount the crossbar to the electrical box, connect the wires and the fixture.
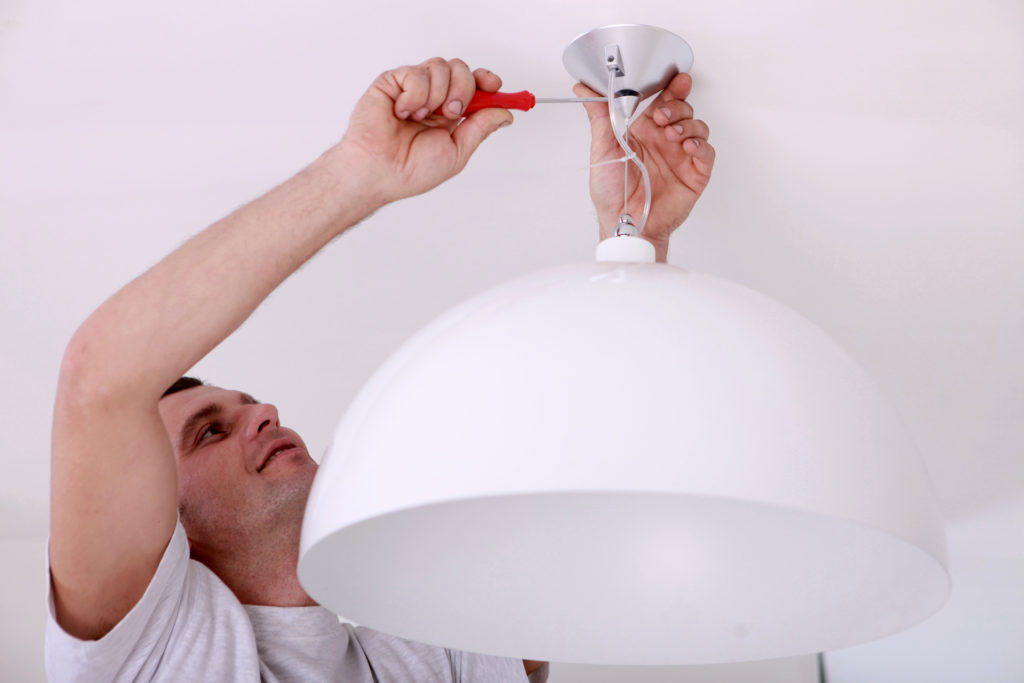
5. Screw the Crossbar to the Box
Position the wires to one side of the crossbar. Screw the crossbar to the box. This will likely take two people, as someone will need to support the fixture while you screw it in.
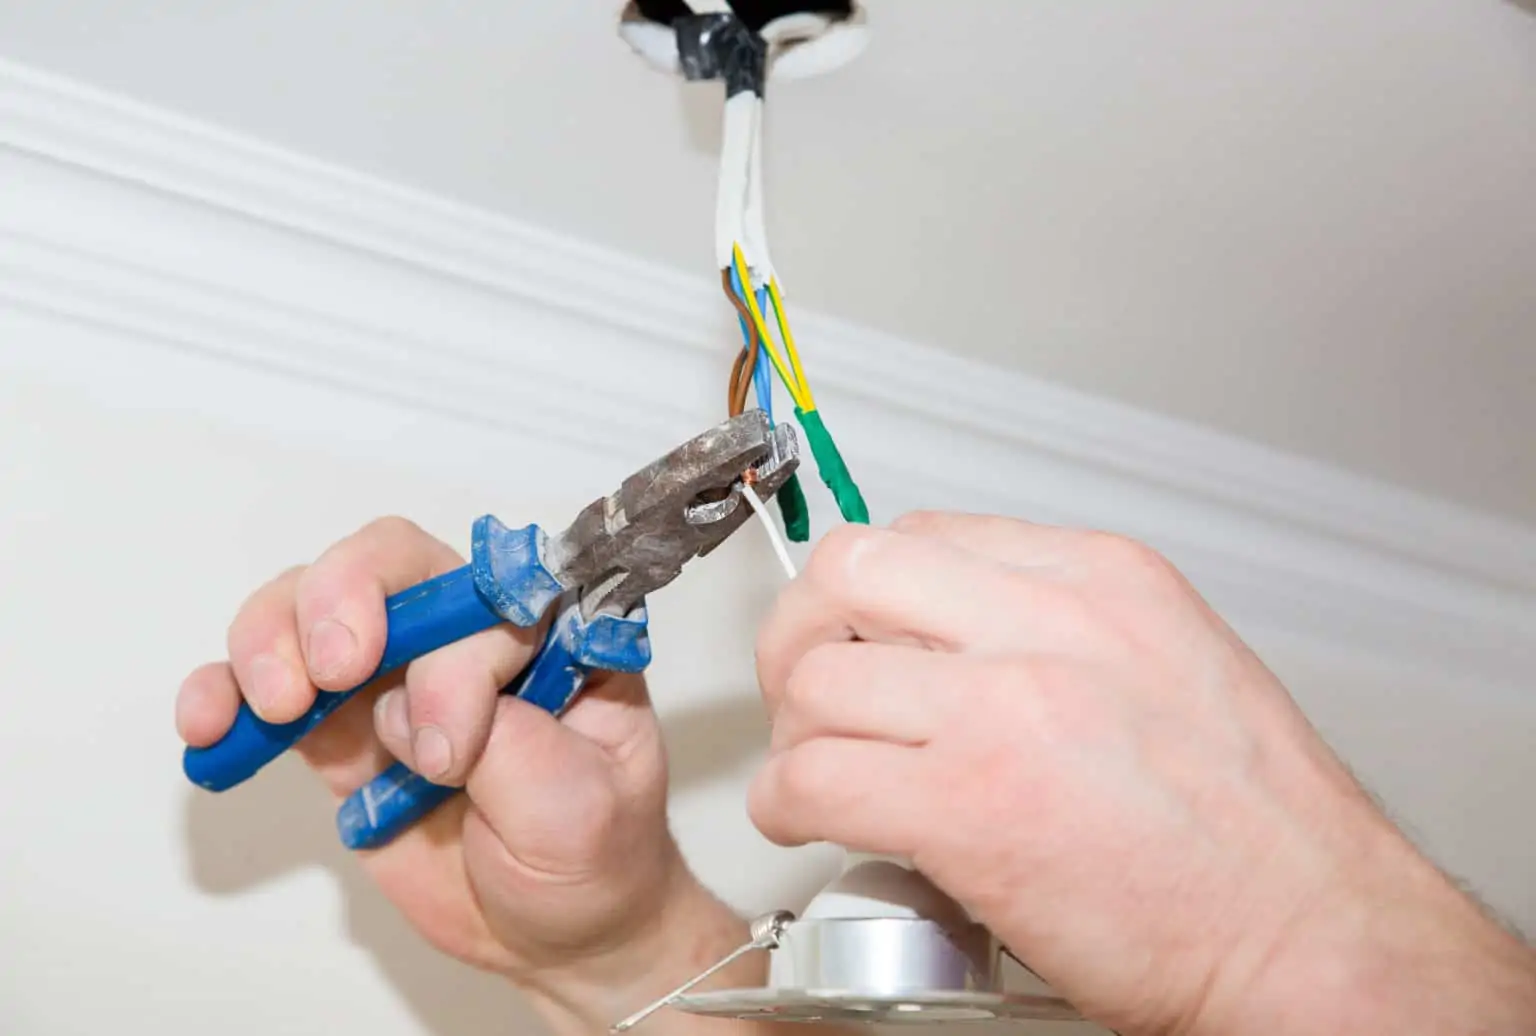
6. Connect the Wires
Connect the neutral wire from the light fixture to the neutral white wire in the box. If your fixture is wired with a lamp-style cord rather than white (neutral wire) and black (hot) wires, identify the neutral wire by looking for silver conductors, writing, squared corners, or ribs or indentations on the insulation.
Your hot wire will be the unmarked wire. Connect that wire to the colored hot wire in the box. Loop the ground wire clockwise around the ground screw in the crossbar, tightening the screw and connecting the end of the wire to the ground wire.
7. Close the Box
Finally, fold the conductors into the ceiling box and slide the canopy over. Secure it with a nut to complete the installation. Test to make sure the wires in the box are hot, disconnect the hot neutral and ground wires from the old fixture, and leave other wires in the box. Reconnect the new picture to these same wires.
Complete the installation by installing the canopy. If it doesn’t fit tight to the ceiling, readjust the screws or threaded rod. Add light bulbs, switch on the power, and turn on the switch to check out your work.

Still, Need Help? Contact Our Professional Team!
If you’re having issues with getting your new ceiling light to work, reach out to us, and we’ll help you complete your project!