Uh oh! You just stepped in a pool of water on your bathroom floor, and you aren’t sure what it’s from. Did the toilet overflow? Did the shower spray on the floor? Sadly, it’s neither—you have yourself a leak in the toilet water supply line.
What might sound complicated is actually a pretty easy fix. Today we’re going to walk you through how to find and fix a toilet water supply line leak yourself, which can save you time and money. But if you’re not a savvy DIY homeowner, that’s ok—you can always call 4Front Energy to remedy the situation as well.
Toilet Water Supply Line Leak: Overall Guide
What is a Toilet Water Supply Line Leak?
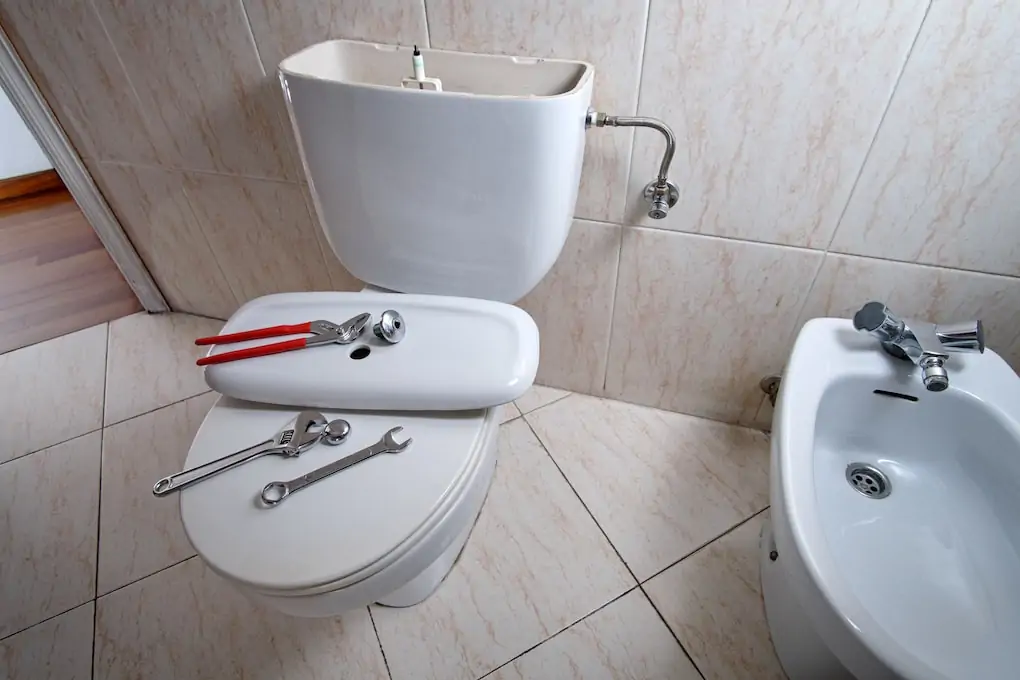
A toilet water supply line is a pipe that delivers fresh, clean water from the home’s primary water source into your toilet bowl and tank. This allows you to flush and refill as needed without worrying about wasting water or refilling it manually.
If you ever wondered what the pipe connecting your toilet to the wall is, that’s your water supply line. It only allows water to flow into the toilet, not out. The waste will go down through your toilet’s drain beneath the bowl, on the bathroom floor. So it’s unlikely a leak near the back of your toilet would be caused by that.
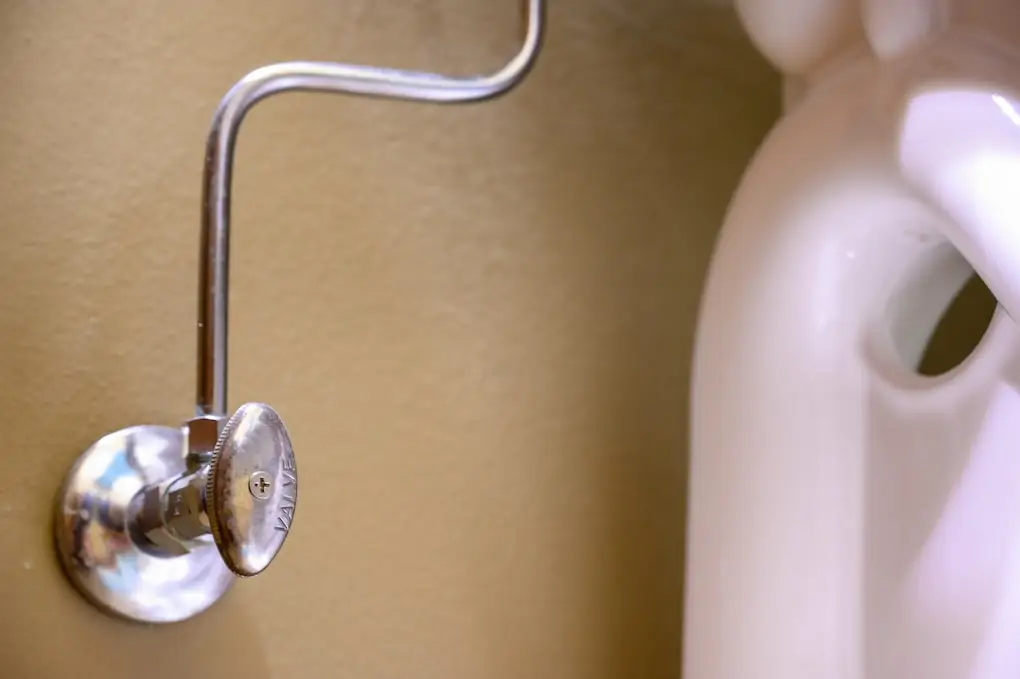
Your toilet water supply line is also where you’ll find your toilet’s shut-off valve. This can be used in this situation where you need to work on replacing it or other work on the toilet to empty the bowl and work in the tank. Simply turn the shut-off valve until there’s resistance, and this should officially cut off the water supply. This will come in handy when it’s time to repair your leak. But first, how do you know if you have one?
How to Find a Toilet Water Supply Line Leak
There are a few places where your toilet supply line could be leaking and a few obvious signs of leaks as well. First, it’s important to note that the water coming into this line is pressurized. So if there is a leak, it may come in the form of a drip, or a more extensive leak, depending on what has happened.
Signs of a leak could be a puddle behind the toilet, a constant dripping sound in the wall, or behind the toilet. You may also notice poor pressure or the tank or bowl not filling with the usual amount of water. These can all indicate there’s an issue with your toilet water supply line.
The leaks can happen at any point along the supply line: your shut-off valve, the line itself, or where the supply line meets the toilet tank. Possible causes of a leak include:
-
Loose valve fittings
-
Cracked or loose washers and threads
-
Cracked supply line
When you pinpoint the spot, you should be able to replace the part easily and feel proud you tackled another DIY project. Now, we’ll give you the steps to take to fix the newly discovered leak. For extra help, check out this step-by-step video below:
How to Fix a Leak in Your Water Supply Line
There are a few critical steps to take when you find a leak in your toilet supply line. We’ll walk you through each one, from troubleshooting the issue to installing a new part. But first, here are some standard tools you’ll need to get the job done:
-
Crescent wrench
-
A bucket to catch water when you detach the supply line
-
A towel
Step 1: Turn Off the Water Supply
Turn the shut-off valve behind the toilet before you begin. It’s always a good idea to shut off the main water shut-off valve to the house before doing any work to be on the safe side, especially if you plan to remove the entire toilet water supply line.
Step 2: Troubleshooting the Leak
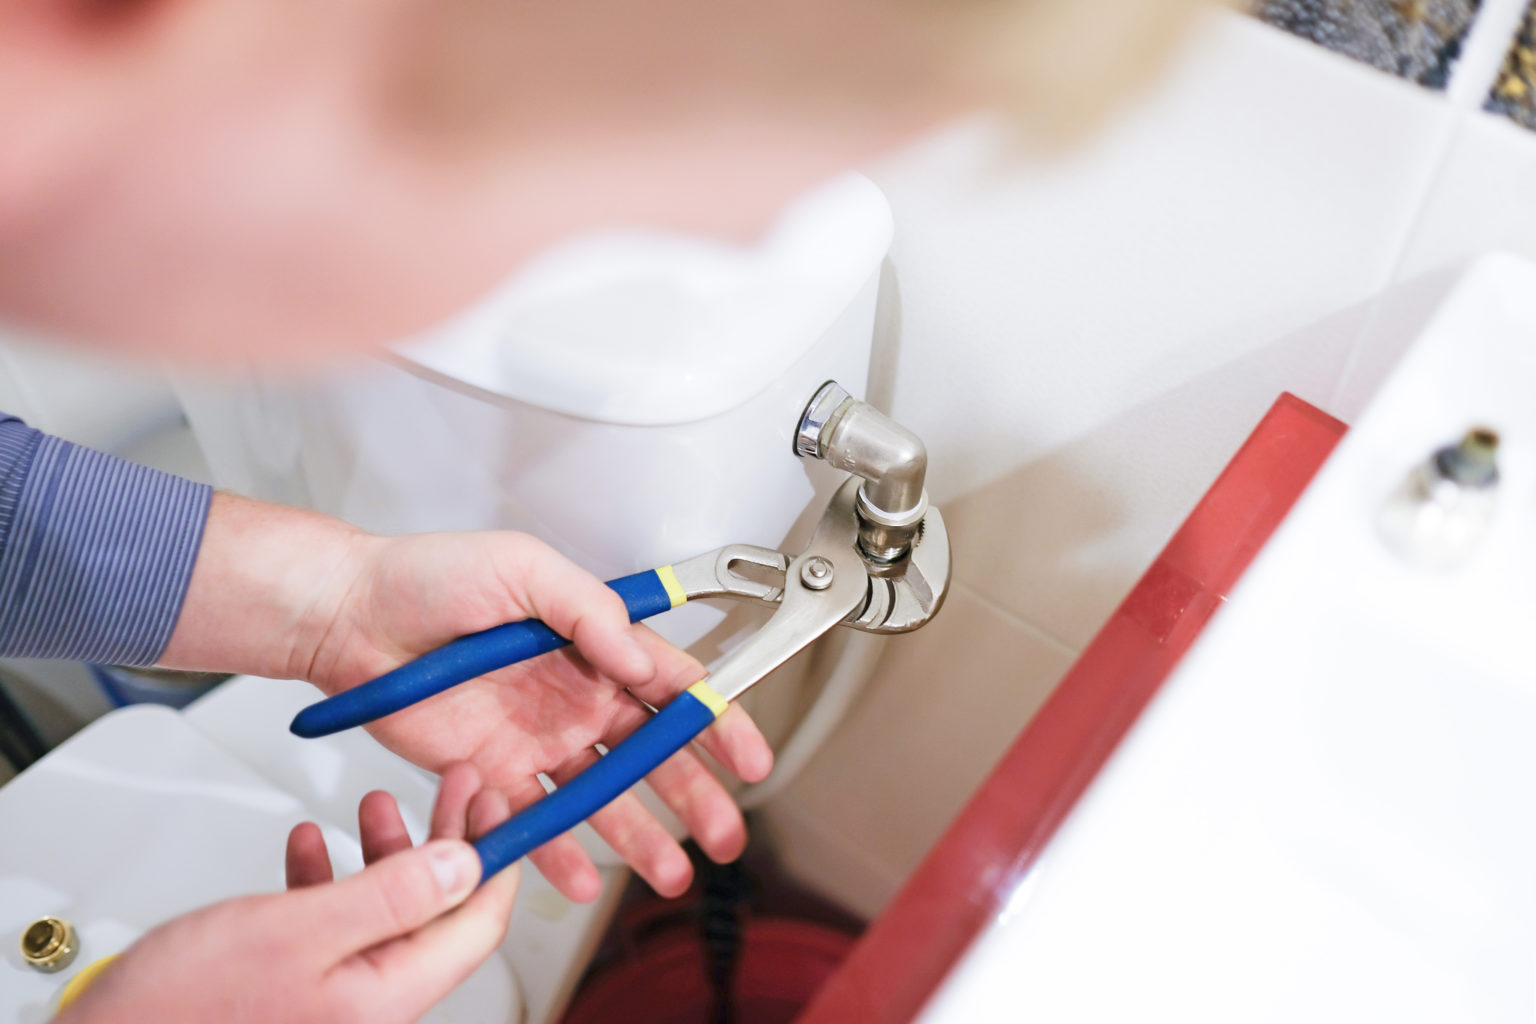
The first step to fixing the leak is troubleshooting if the part needs to be replaced. As we mentioned, loose fittings or washers can be the culprit of a leak. If this is the case, they may simply need to be tightened to fix the issue.
You can use your wrench to tighten all of the fittings, or even remove everything to examine it, then reassemble it to see if that fixes it. Turn the water back on, if the leak has stopped—congrats! It just needed a little re-tightening. If not, move to Step 3.
Step 3: Purchase a New Part
If you disassembled your water supply line and found that a washer, fittings, or the pipe itself were cracked or damaged, that’s an easy fix. You can take the broken piece and bring it to your local hardware store to find a replacement. Bringing the part with you ensures you get the right size and piece for your specific toilet. Not all of them come standard, so it’s better safe than sorry.
Step 4: Replace Your New Part
When you get home, re-assemble your water supply line with the new part. Then, turn the water back on, and check for the leak again. If you flush the toilet and the leak is gone—well done—you’ve successfully fixed the leak!
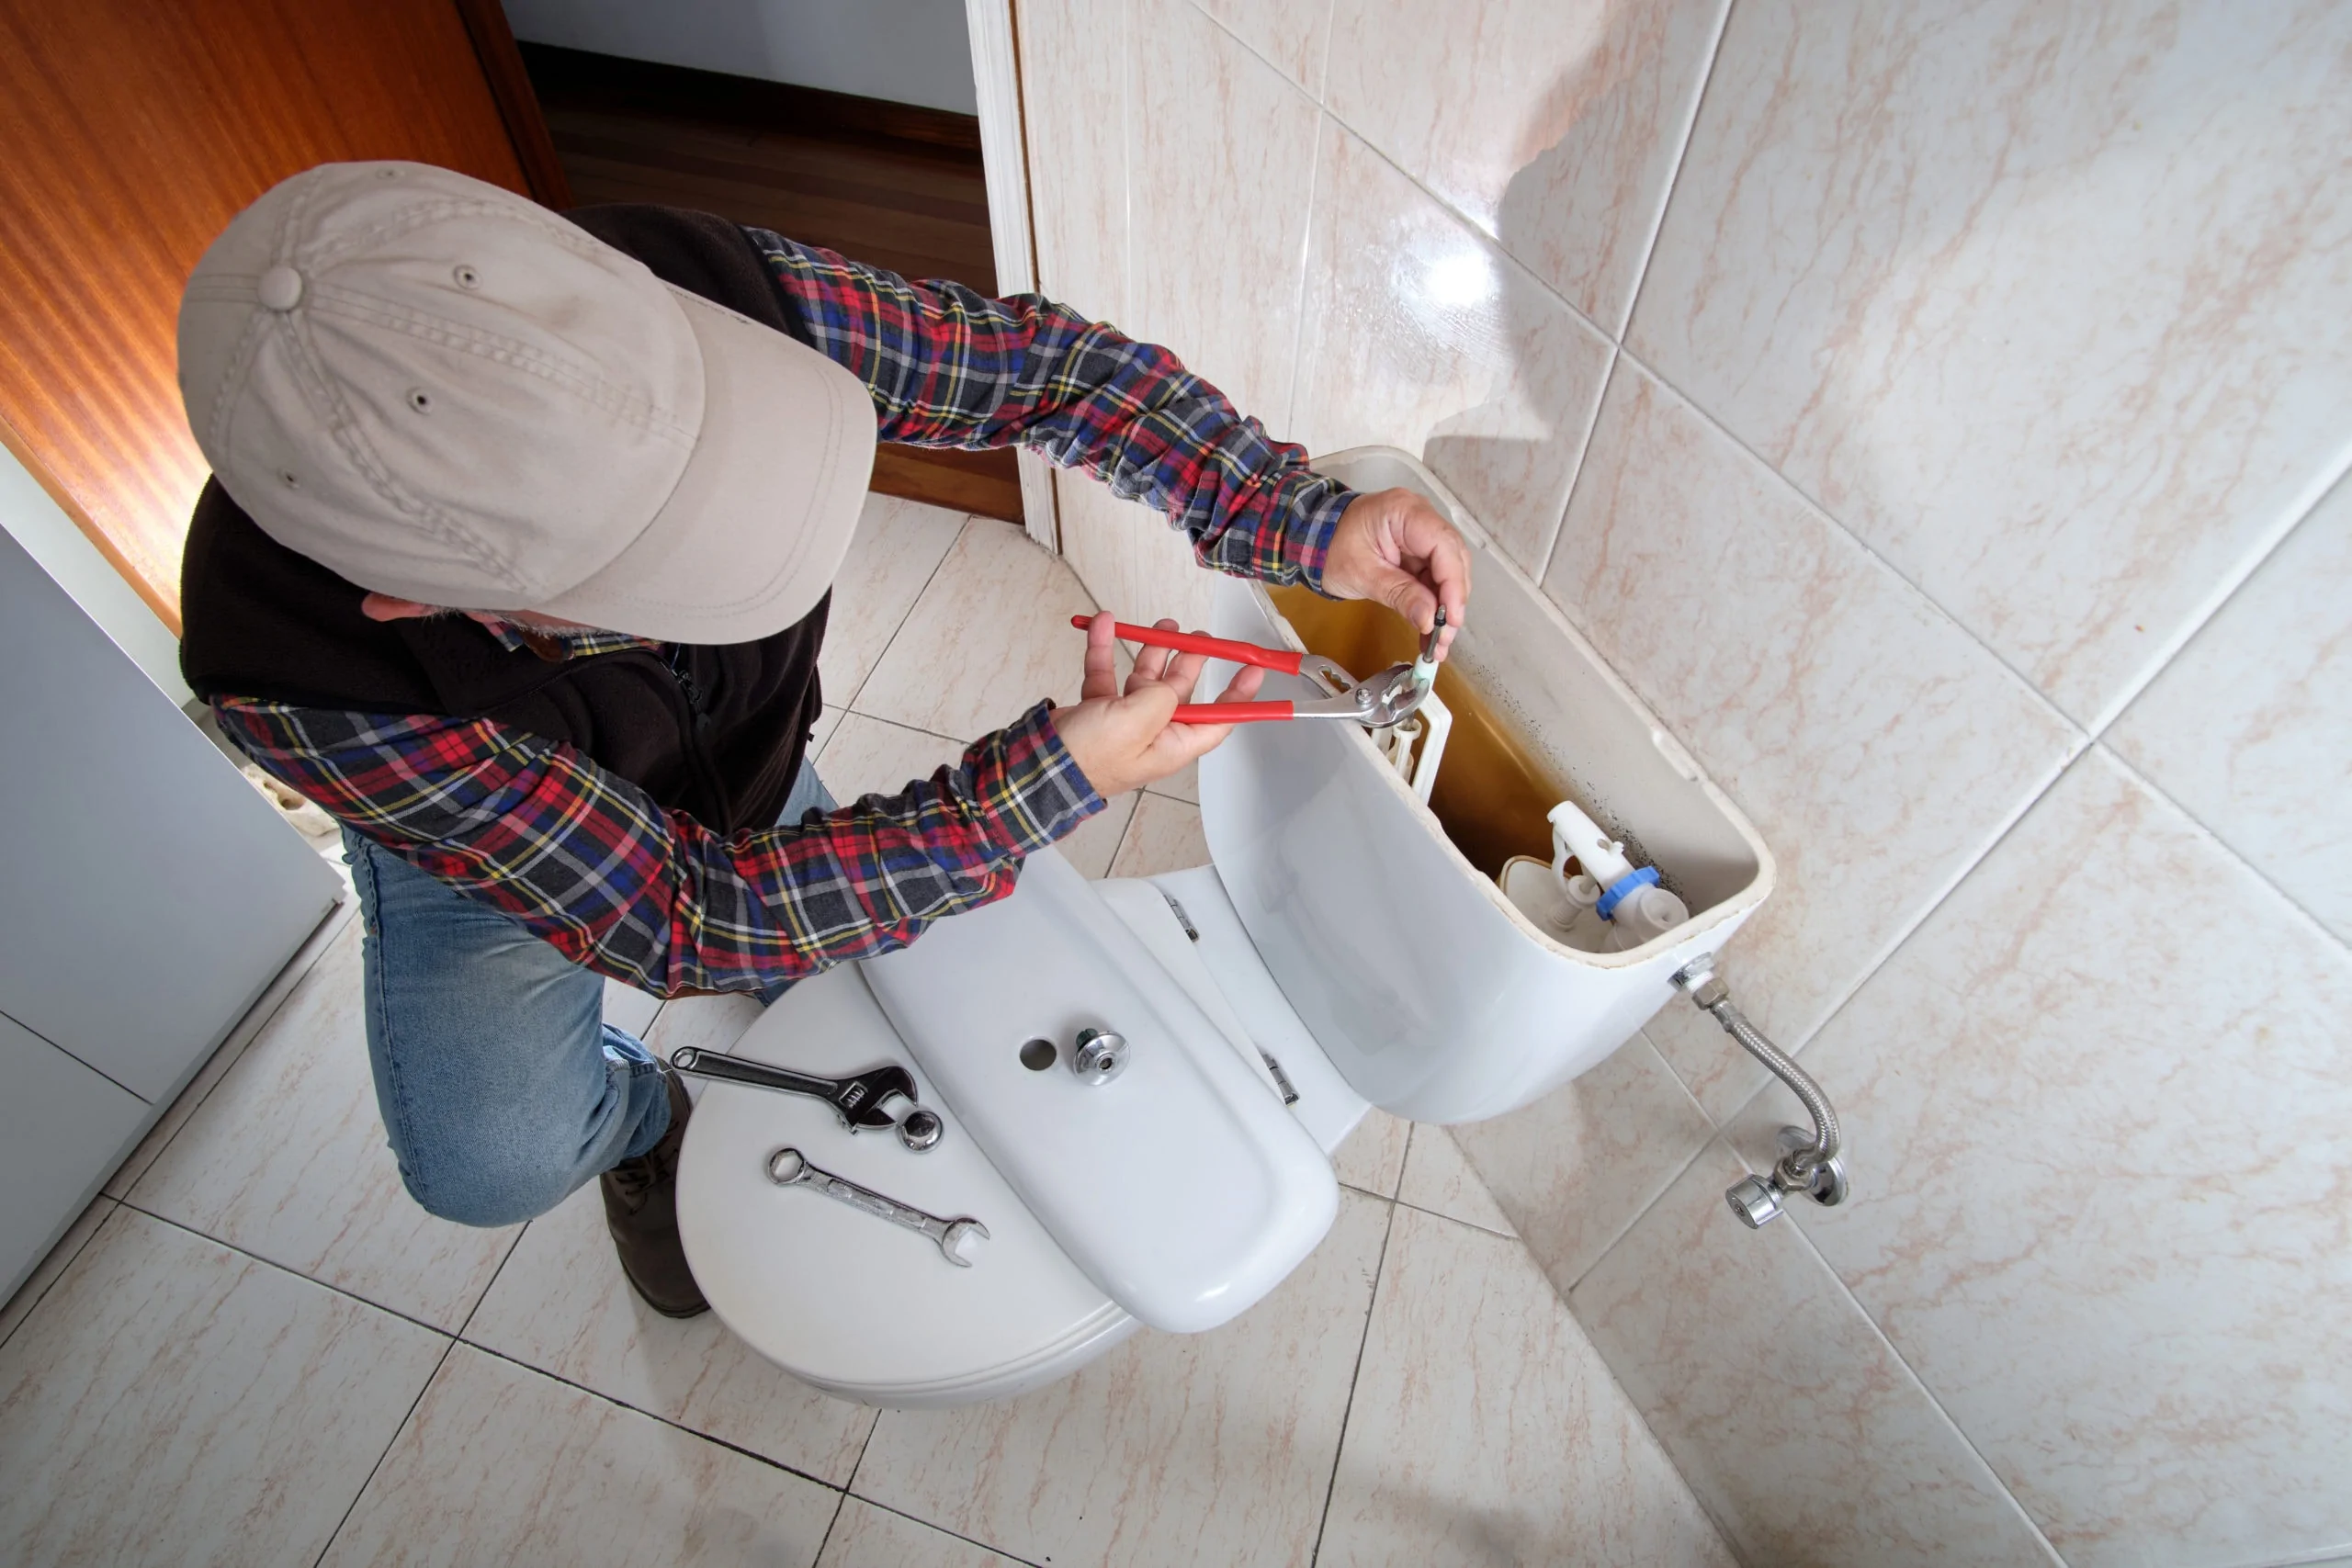
As you can see, repairing a leak in your toilet water supply line is one of the most straightforward DIY plumbing tasks you can do around the house. It’s all a matter of troubleshooting the issue, knowing how to use a wrench (carefully), and taking the time to be patient and discover the leak itself.
Contact 4Front Energy To Set Up Your FREE Inspection!
As easy as this is, some homeowners may have a toilet supply line that’s hard to access, or they don’t have any DIY experience to handle such a job. That’s ok! Our team at 4Front Energy is well versed in all jobs—big or small. We can come to fix the leak in no time at all and no hassle for you. Simply contact us online or give us a call, and we’ll schedule a convenient time to set up your FREE estimate. For a complete guide to plumbing basics for homeowners or to learn about the different types of toilets check out our blog.

