Whether it’s a point of pride or a chance to save money, the DIY homeowner loves attempting to fix everything around the house themselves. While it bodes well for simple things like painting or hanging some shelves, DIY plumbing can be a whole other story. Because plumbing basics go much deeper than just tightening a pipe connection or snaking the toilet, we always recommend hiring a professional plumbing contractor. For the brave souls that choose to continue in this article, we will discuss all of the fundamentals that every beginner should learn, so they don’t cause more harm than good.
Tools Every DIY Plumber Needs
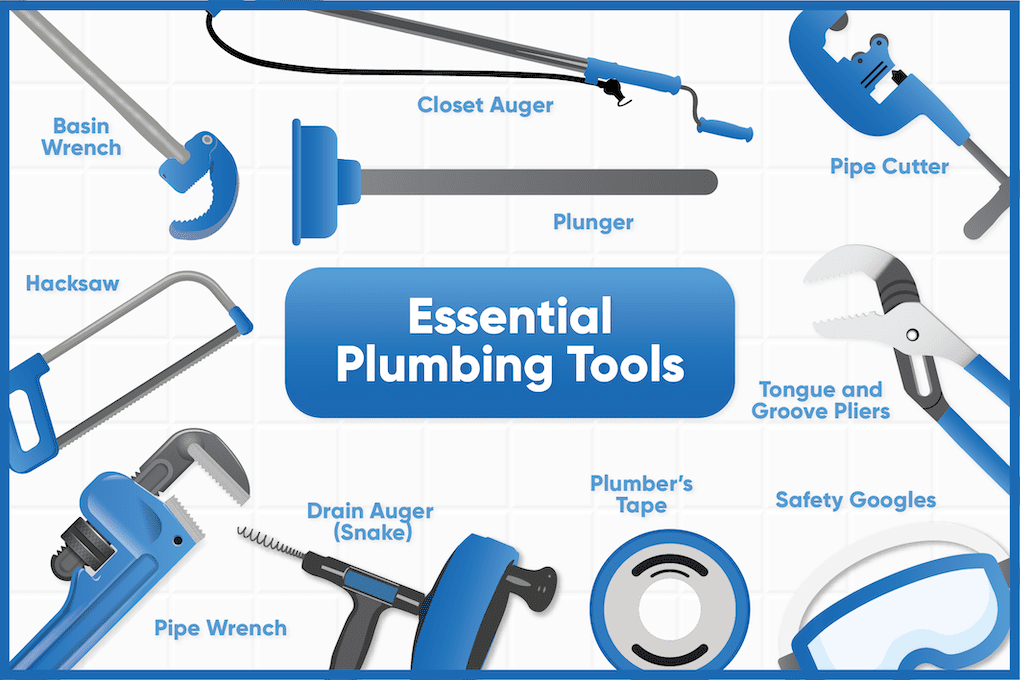
Let’s get started with a helpful list of tools that every DIY plumber will need. These will allow you to do basic repairs, replacements, and fix any clogs in your home quickly, and easily. Keep in mind, other more complex jobs require more complex tools, and may require hiring a professional or someone with skills beyond a DIY beginner.
-
Pipe wrench
-
Drain auger (snake)
-
Closet auger (specifically for toilet bowls)
-
Pipe cutter
-
Hacksaw
-
Basin wrench
-
Strap wrench
-
Safety goggles and gloves
-
Plunger
The Dos and Don’ts of Plumbing Everyone Should Know
First, you want to know a few plumbing dos and don’ts that can save you a lot of pain and strife and prevent further damage to your home’s system.
-
It’s important to know there are two subsystems in your home: one carries in clean water for drinking, showering, etc. and the other carries out wastewater. Don’t mix up the two.
-
Know where your main water shutoff valve is located. If there’s ever a flooding or plumbing issue, this valve will turn off the flow quickly and easily so that nothing gets ruined or damaged. You can typically find it near any major appliances if they have a water source (fridge, dishwasher, washing machine), or in the basement.
-
Regular augers can scratch the inside of your toilet bowl—make sure to get a closet auger specific for porcelain bowls. They’re also shorter for trap clogs where a full snake isn’t needed.
-
Store-bought conventional drain cleaners cause pipe corrosion. They have caustic oxidizing chemicals that can corrode and damage old metal pipes. A solution of baking soda, vinegar, and hot water is a much better solution for small sink clogs.
-
Don’t pour grease down the kitchen drain! Some people will say it’s fine to pour your grease or cooking oil down the drain as long as you run hot water afterward—but they are dead WRONG. The grease still works its way through your pipes where it can coagulate and cause clogs and backups. Instead, pour it into a glass jar or aluminum can then allow it to cool and throw it into the garbage.
-
Only flush things that are meant to be flushed. Cotton balls, “flushable” wipes, cat litter, feminine hygiene products, and other garbage won’t break down in your pipes like waste and toilet paper.
DIY Plumbing Basics: How-To Fix Common Plumbing Issues
There are a few common things that can happen with your plumbing: clogged drains, running toilets, and leaky pipes. Here are a few simple steps to help locate and fix these common issues.
Fixing a Clogged Drain
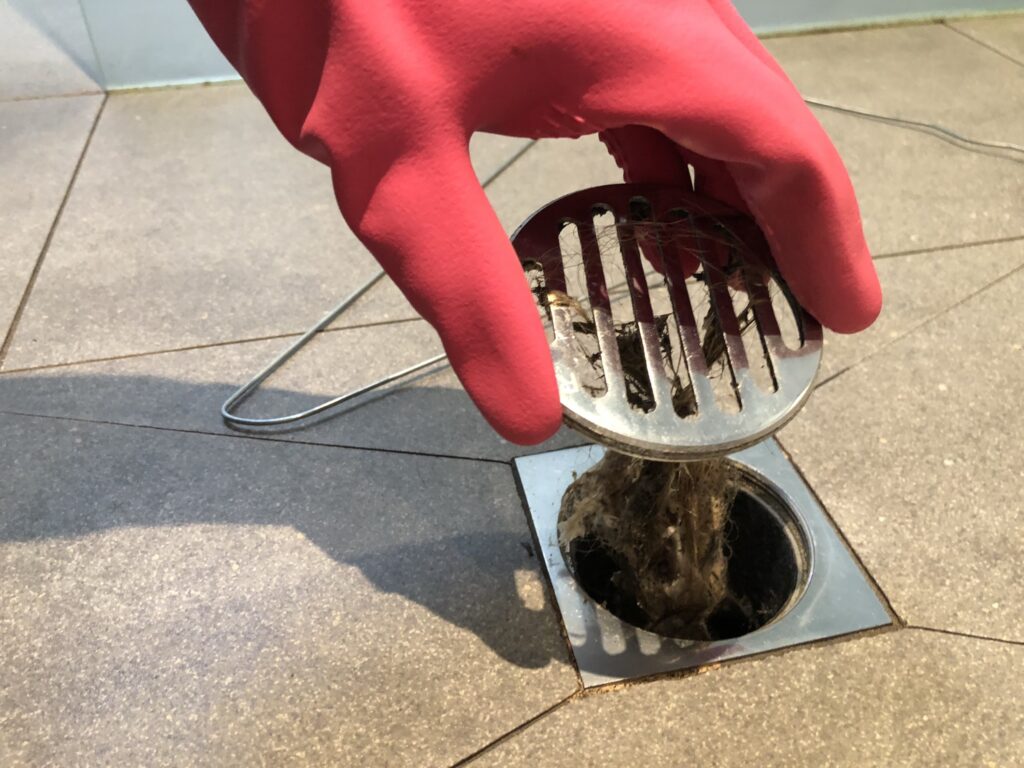
If your kitchen or bathroom sink is slow draining, chances are you have a small clog, likely near the trap. It’s probably caused by hair, food, or another build-up that gets trapped over time. It’s a relatively easy fix, and before you reach for that Drano, try these things first.
Unclog Using Vinegar and Baking Soda
-
Pour a quarter cup of baking soda into the drain.
-
Pour one cup of white vinegar down the drain and let it sit for 10-15 minutes. The chemical reaction between the two will help break up minor clogs.
-
Run hot water from the tap for 10-15 minutes until it runs through.
-
You may need to repeat a second time, but if it doesn’t clear after that you can move to the next tactic—snaking the drain.
Snake the Drain
-
In the bathroom, remove your sink stopper by unscrewing the top of the drain until it comes up, leaving the sink and sink stopper exposed in the drain. Note: if your bathroom sink stopper is connected to a pivot rod, follow these instructions.
-
For your kitchen sink, the drain is probably connected underneath by screws or a screw-in holder. Take a peak and loosen it appropriately—the drain should then pull up and out. Follow these steps to troubleshoot.
-
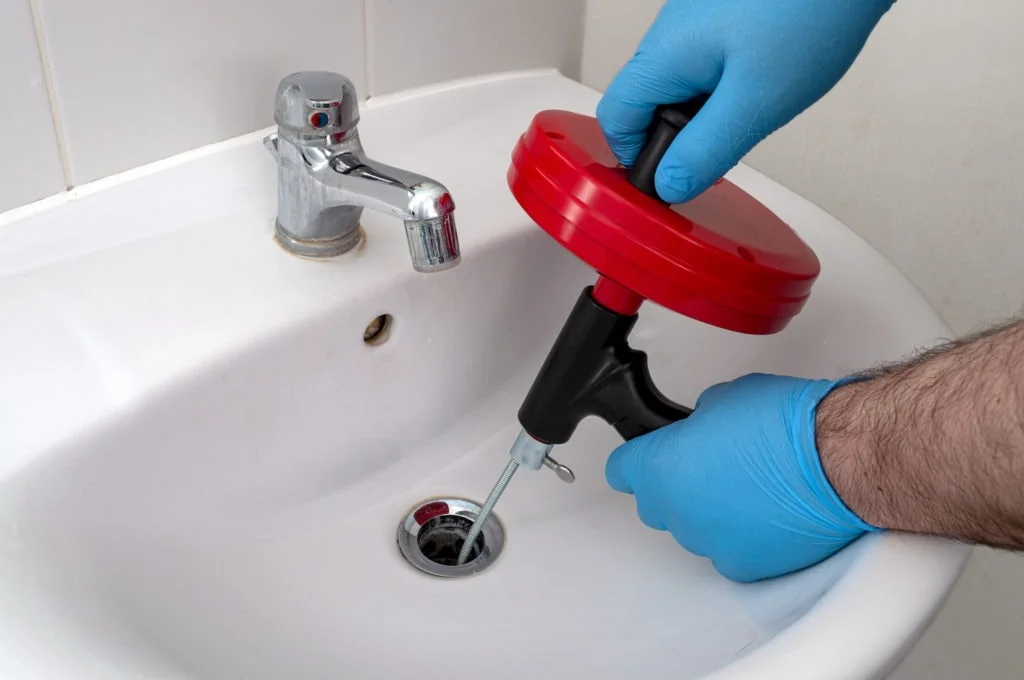
Grab your drain auger (snake) and feed it down the pipe until you hit resistance.
-
Turn the crank on the snake to move through anything causing a blockage, or turn again in reverse if nothing is there yet. Keep cranking until you’ve cleared out everything that’s clogging up your pipes.
-
Once the drain is clear, run hot water for a few minutes to make sure it’s working, and place your drain or sink stopper back in place.
Remove the P-Trap
If the first two methods didn’t work, you may need to remove the p-trap and snake your drains from there, or manually clear out the clog in the trap. It’s a very common place for clogs to occur, especially in bathroom and kitchen sinks.
-
Turn off your water supply before you remove any pipes.
-
Place a bucket underneath your trap because if it does have a clog, you’re going to have water run out the second it is removed.
-
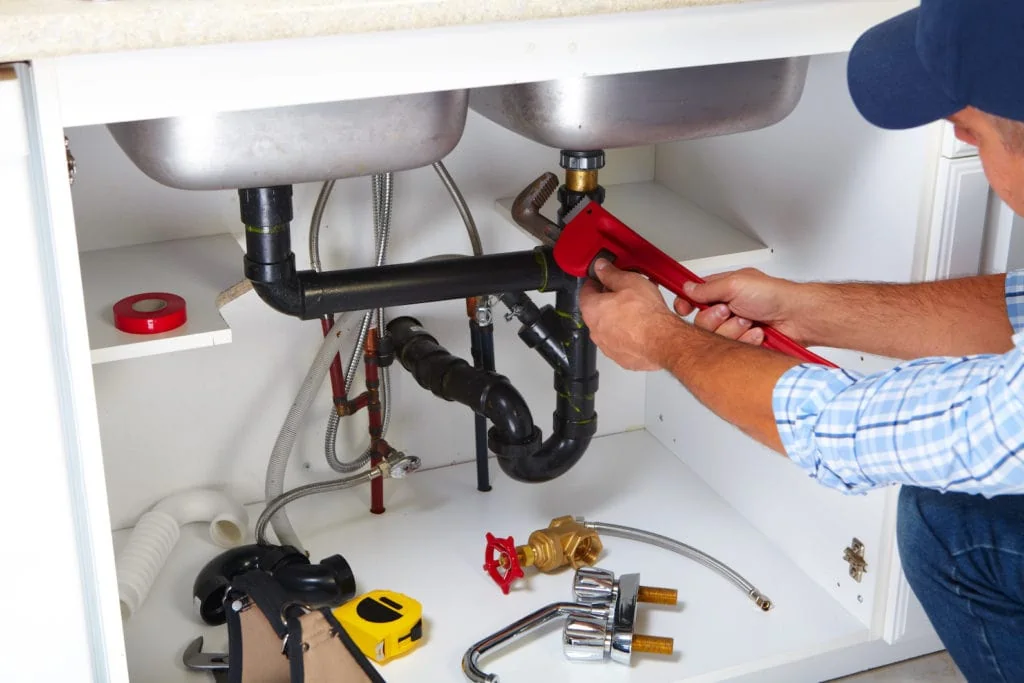
You might be able to manually unscrew the p-trap, but if it’s really tight, loosen it with your plumbing wrench.
-
Once it’s loose, unscrew the other attachment, and you should be able to remove the trap from the pipes.
-
At this point you should be able to clear out any clogs in the p-trap itself by hand—if not, unclog your drains with a snake at the point of entry in the wall.
-
Once you’re done and believe the clog is gone, reconnect everything, and don’t forget to turn your water back on.
How to Fix a Running Toilet
Is your toilet running? You better go catch it! ha-ha. All jokes aside, it’s likely you’ve probably heard a toilet run at least once in your life. A running toilet sounds like it just never stops the flushing process. It may sound like the tank is continually emptying or filling, but never stops. Reasons for a running toilet could be a broken or loose toilet flapper, broken fill valve, or the overflow pipe is not set right. We’ve all tried the “jiggle the handle” trick, but that never fully solves the issues. Here are the steps you can take to troubleshoot a running toilet.
-
First, check the fill valve.
-
If the fill valve is off, it may be causing your toilet to run. Check to make sure there’s not a float ball inside that needs fixing or adjusting. If needed, try tightening down the nut on top of the water level inlet and see if that fixes it—if so then you’re good!
-
If this doesn’t work, then you may have a bad fill valve, in which case just replace it.
-
If your toilet is still running after this, check the flapper to see if there are any issues with it. Also, be sure that the flap opens when water flows through—if not, adjust accordingly or exchange for a new one entirely. Lastly, inspect the overflow pipe and make sure it’s at the right height.
Signs You Have a Water Leak
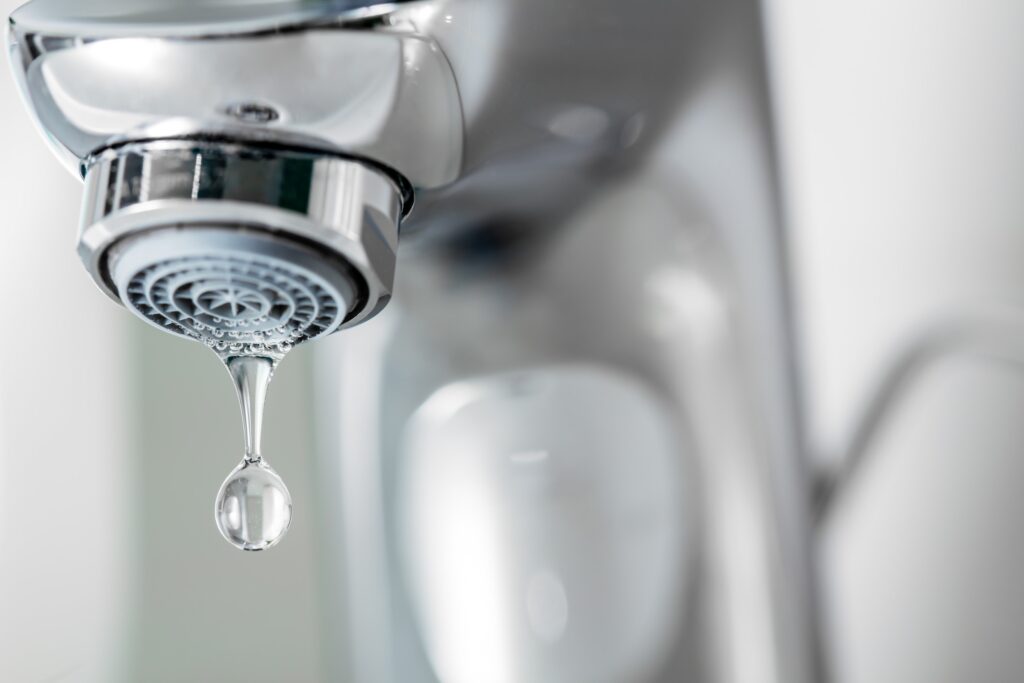
It’s highly important to know the signs of a leaky pipe because if left untouched, it can cause mold, mildew, and more damage to the rest of your plumbing system. Not to mention high water bills. Here are some of the tell-tale signs of a water leak, and how to repair it.
Signs of a Leaky Pipe:
-
Hearing a gurgling sound coming from an unknown place.
-
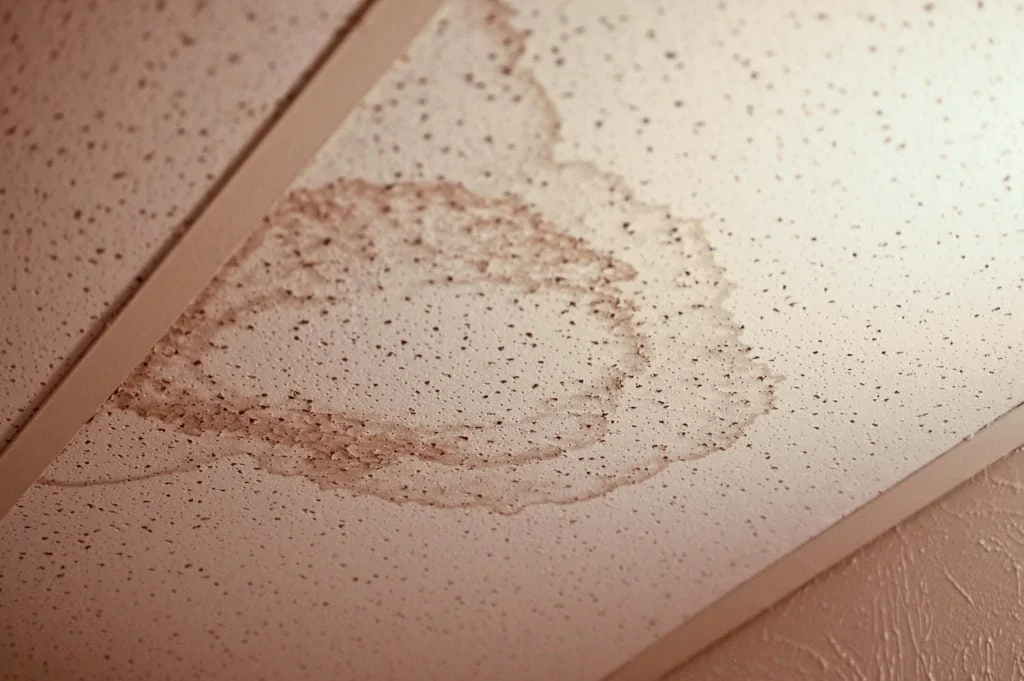
Seeing water pooling in some places that it never did before, or stains on the ceiling. Although a ceiling stain on the upper floor could also mean a roof leak.
-
You notice puddles around your basement—this could also be an underground pipe leak.
-
You have low water pressure, high water bills, and low hot water temperature.
How to Fix a Leaky Pipe:
-
If you notice a leak, turn off the main water supply—the valve is usually near your meter or by your pressure tank if you have a well.
-
Find where the leak is coming from and try to tighten it with an adjustable wrench. If this doesn’t work, use Teflon tape on all threaded fittings as well as any compression nuts or brass couplings. Replacing the plumber’s tape and surrounding connections can often do the trick.
-
If you’re still unsuccessful, you might have to cut out the section of pipe that needs replacing. This can be a challenge so you may want to call the professionals at Paladin. But, DIY instructions can be found here.
-
Once all the steps have been completed and your leaky pipe has been replaced, turn on the main water supply again.
This article can help beginners and amateur DIYers understand the basics of their home plumbing system, how to pinpoint issues, and fix the most minor repairs. Knowing how to do these things can be super gratifying as you fix little things around your home, and feel proud doing so.
When In Doubt, Call The Pros!
It’s also important to listen to your gut. If you ever feel that you’re working beyond your knowledge, or the job is too complicated—call 4Front Energy for a FREE estimate! Our team of professional plumbers can fix your plumbing right up, no matter how big or small the job may be.
FAQ
What is the most common plumbing problem?
The most common plumbing problems are clogged drains and toilets, water heater issues, leaky faucets, running toilets, and low water pressure.
What are the 3 types of plumbing systems?
There are three main types of plumbing systems.
-
Drainage plumbing system
-
Sewage plumbing system
-
Potable water or drinking water plumbing system
Does rain affect plumbing?
Yes, sudden and heavy rains can lead to serious problems in your plumbing and drain systems , especially if your properties are not equipped to handle the rapid and steady water intake. It’s important to know the warning signs of a major plumbing problem in order to preserve your home against the rain.

