Toilet puns stink! But installing a new toilet doesn’t have to! When your toilet kicks the dust, you need to install a new one— and fast. While we always recommend you hire a pro to get the job done right, the steps are relatively easy, even for the inexperienced homeowner.
This guide will walk you through when and how to install a toilet. Whether you’re remodeling your half bath or have to replace an old piece of junk— follow these steps and you’ll be in the clear.
When Might You Need to Install a Toilet?
The first step is to figure out when you might need to install a toilet.
During a Remodel
The most common time homeowners need to replace or install a new throne is during a bathroom remodel. Oftentimes, toilets are the first thing to go in a refresh because they’re one of the least expensive pieces in the room.
Your Toilet is Decades Old
If your current toilet is starting to show its age, you might be thinking about replacing it with a more modern model. New toilets come with all sorts of features like auto-flush and hands-free operation. The upgrade can be so worth it and when you go to the bathroom you’ll be in a lap of luxury.
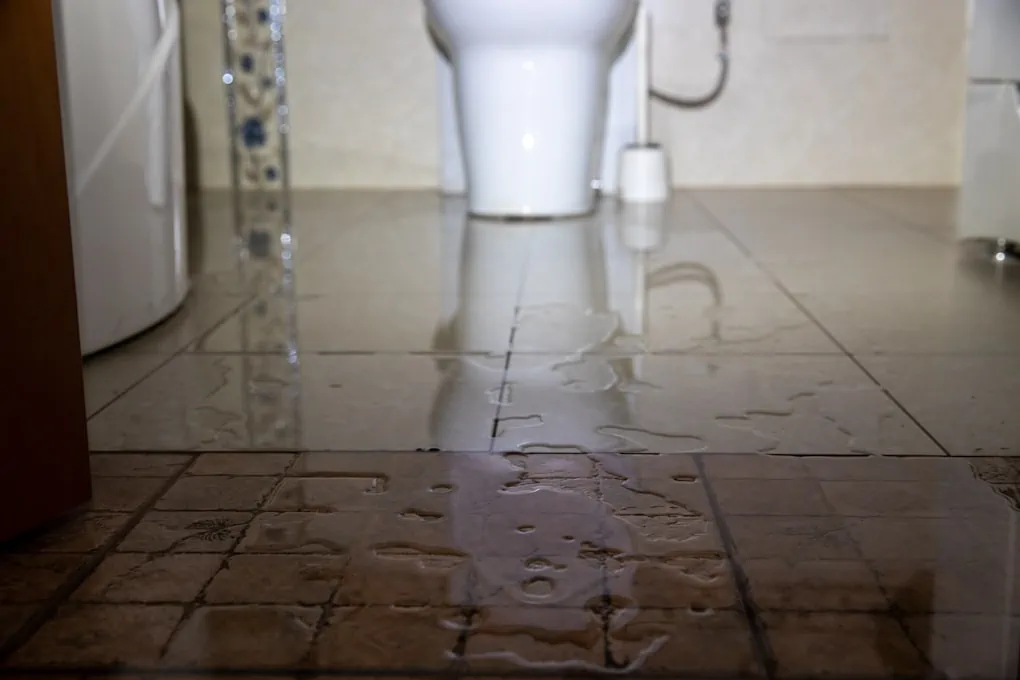
When Your Toilet Breaks
Another common time to install a new toilet is when your current one breaks or leaks. Water damage in the bathroom is no joke, so if there’s water where there shouldn’t be, it’s time for a new commode.
Additionally, if you find yourself constantly repairing your toilet or it struggles to flush continuously, look into an upgrade before it stops working altogether— or worse— causes extensive water damage.
Types of Toilets and Where They Work Best
We bet you didn’t know just how many types and styles of toilets there are. They can be so much more than the white ceramic toilet bowl that flushes our waste. They can be tall, short, long, round, black, green, blue— the list goes on. But for the most part, there are a few common types of toilets a standard home may have.
6 Common Toilet Flush Types
-
Dual-Flush: Dual-Flush toilets save water by offering a partial flush for liquids and a full flush for solids. If you’ve ever seen a public toilet with two options for a flush, this is why.
-
Double Cyclone: This type of flushing system is designed for maximum power. It uses less water but delivers a much more powerful flush, making it ideal for high-traffic bathrooms and homes with large families.
-
Gravity-Flush: This is the most common type of flushing system and what you probably have in your home right now. It’s simple and efficient, and it gets the job done without much fuss.
-
Pressure Assisted: If you have a small bathroom or live in an area with weak water pressure, this is the best type of flushing system for you. It uses air pressure to deliver a powerful flush even with low water pressure.
-
Single Flush: If you want a toilet that only flushes once (and not twice), then this is the system for you.
-
Upflush: This type of toilet doesn’t require cutting a hole in your bathroom floor, instead it will flush upwards into the pipes above your toilet. This is a very vintage type of toilet and isn’t super common, but can be found in some homes looking for a vintage style.
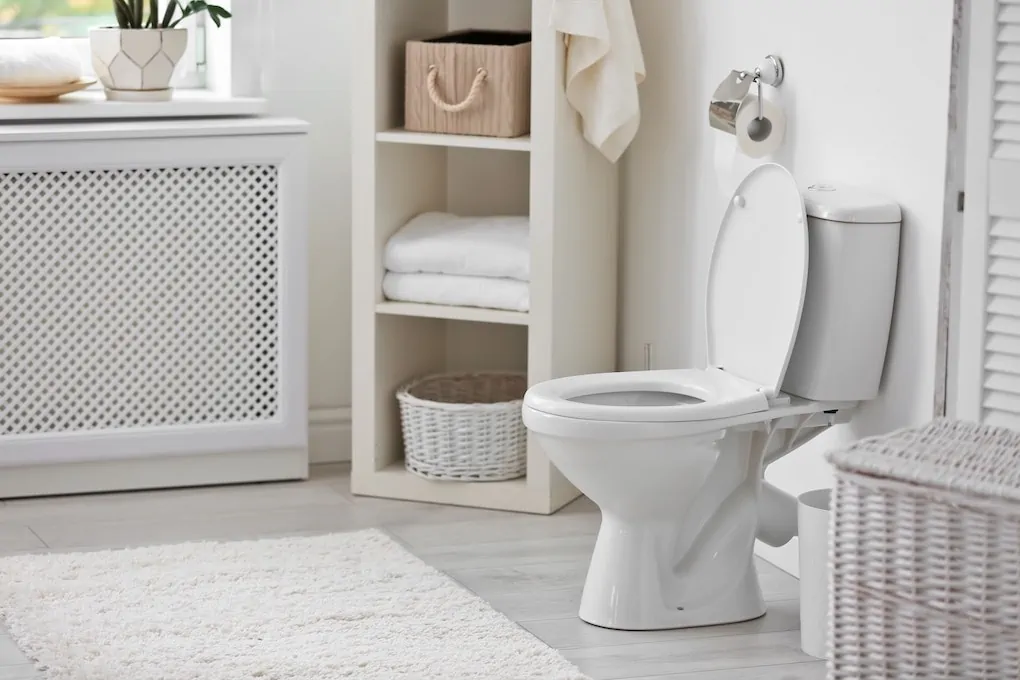
5 Common Toilet Styles
The style of the toilet is different from the type and is more so what the toilet looks like rather than how it functions. For the most part, you’ll see these 5 common toilet styles in modern homes.
-
Two-Piece: This is the most common style of toilet you’ll see and what you probably have in your home right now. It consists of a bowl that’s connected to the tank via two bolts. They’re easy to install and repair and are usually pretty affordable. This might be considered the standard design for a toilet today.
-
One-Piece: As the name suggests, a one-piece toilet is just that— one piece. The bowl and tank are connected and usually made from porcelain or ceramic. They’re more expensive than two-piece toilets but are designed for a seamless look in your bathroom.
-
Wall-Hung: Wall-hung toilets are, you guessed it, hung on the wall with strong bolts and brackets. This mounted design is great for people who want a clean design and look in their bathroom. It also makes mopping the bathroom floor a breeze since you can go right underneath the mounted toilet.
-
Tankless: A tankless toilet doesn’t have, well, a tank. Instead, it uses a direct water supply line which eliminates the need for a tank altogether. These toilets are more expensive but save on space and can be very efficient.
-
Back-to-Wall: Back-to-wall toilets are similar to wall-hung toilets but aren’t mounted on the wall. Instead, they’re placed directly against the wall which gives your bathroom a seamless and clean look.
When it comes to picking out the right toilet for your home, there are a few things you’ll want to keep in mind. The first is the type of flushing system you want. The second is the style of toilet that will fit best in your bathroom. And lastly, you’ll want to make sure the height of the toilet is comfortable for you. Once you’ve decided on all of that, then you can start shopping around for the perfect toilet for your home.
How To Install A Toilet: 9 Simple Steps
Once you’ve selected your toilet, it’s time to install it! You’ll need a few vital materials and tools to get the job done right.
Tools and Materials Needed:
-
Toilet + toilet installation kit
-
Toilet wax ring
-
Adjustable wrench or pliers
-
Screwdriver (Phillip’s head)
-
Level
-
Sponge and Bucket
-
Putty knife (optional)
-
Newspapers or rags (optional)
Step 1: Thoroughly Measure the Area
To measure for a new toilet you can do two things:
-
Measure the size of the old toilet, and purchase one of the same size.
-
Measure the distance from the wall to the first bolt.
Most toilets come standard and the waste pipe at its base is about 12 inches from the wall. However, they can range from 10 to 14 inches, so it’s vital to get the right fit.
Step 2: Flush the Tank and Remove Your Existing Toilet
Before removing your existing toilet and tank, you need to flush all of the water out of it first. Follow these steps to empty the tank and remove the toilet:
-
Turn off the water supply valve.
-
Flush the toilet once— it should empty most of the water out.
-
Use a sponge or small cup to remove the rest of the water from the bottom of the tank.
-
You can use a shop vac to suck out any final stubborn amount of water.
-
Unscrew the bolts at the bottom of the tank, and remove them if it’s separate from the bowl.
-
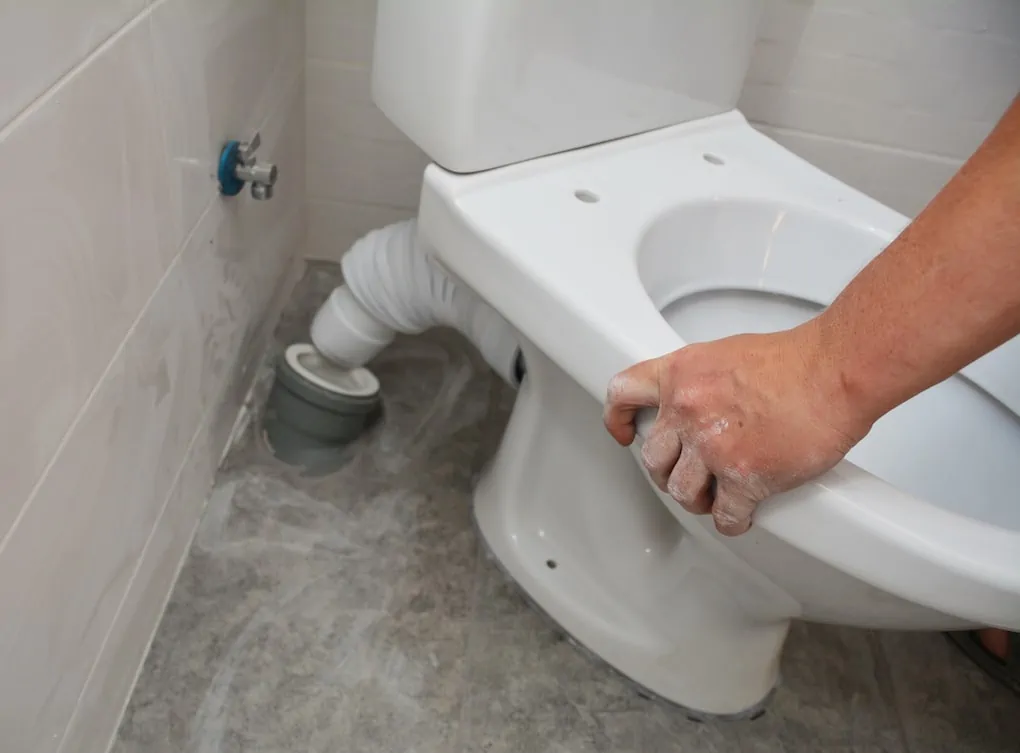
Unscrew the bolts at the base of the toilet and carefully lift them off the bracket.
-
Check for any cracks or issues with the connections so you have a good spot to install your new toilet.
Step 3: Install New Bolts at the Base
Install the new closet bolts on the floor around the ring base. Tighten the bolts with an adjustable wrench or pliers. You want them snug enough, but not too tight that they strip the porcelain.
Step 4: Flip the Toilet Upside Down and Install Wax Ring
Place the toilet bowl upside down on a few newspapers or rags to protect the finish. Find the manufacturer’s instructions for your new wax ring and follow their steps to properly install it. Most wax rings come with a plastic sleeve that acts as an installation guide. Some have a blue ring that lets you know it’s properly seated, while others have an orange or red ring that needs to be pushed down further.
Step 5: Secure the New Toilet in Place at the Base
Carefully flip your toilet back upright and set it in place. Gently press down and rock it slightly from side to side until you feel the wax ring compress.
Step 6: Bolt the Tank in Place
Once the toilet is evenly in place, tighten the bolts to secure it to the drainpipe base.
Step 7: Re-Attach the Water Supply Line
Attach the new water supply line to the valve on the wall. The connection might be different than your old one, so be sure to follow the manufacturer’s instructions for your new toilet. Turn on the water supply valve and check for any leaks at the connections. If there are no leaks, flush the toilet a few times to fill up the tank again.
Step 8: Test for Leaks
Check for leaks at all of the connections. From the water supply line to the closet ring— if you notice any leaks, turn off the water supply and retighten all of the bolts and connections. You can use silicone caulk as an added security around any potential areas for leaks.
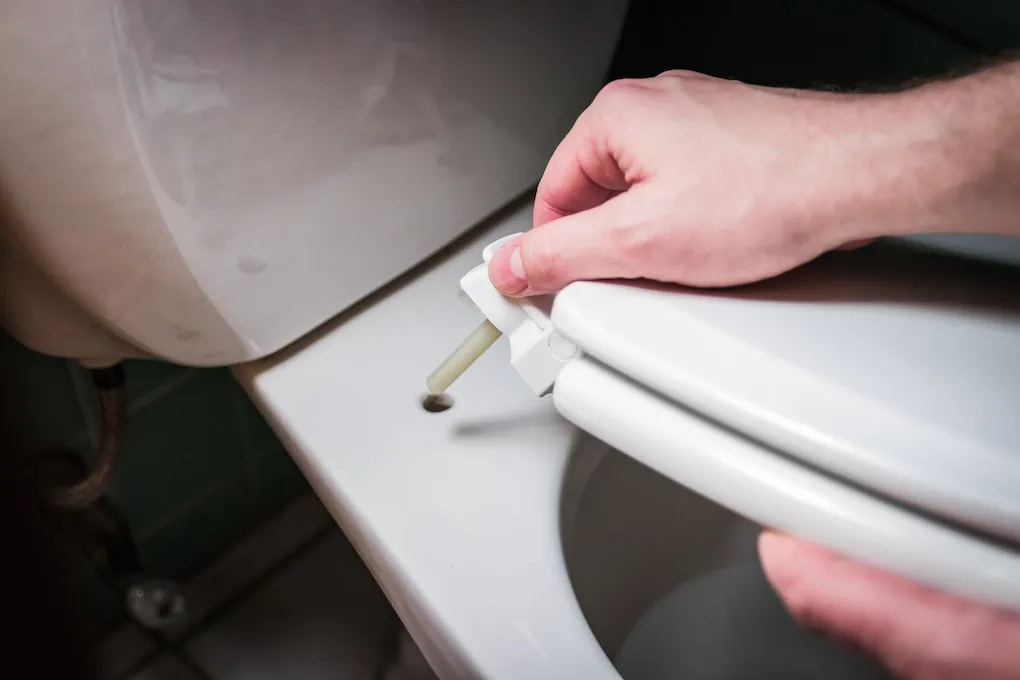
Step 9: Install Your Seat
And the final piece is installing the seat to the bowl. This is very easy and again, make sure the bolts are tight but not too tight.
Now that you’ve finished installing the toilet, you can enjoy this new and improved commode!
Hiring a Reputable Plumber for Your Toilet Install
In order to ensure a perfect installation, you should hire an experienced, reliable plumber. The team at 4Front Energy can handle anything from a simple toilet installation to a total bathroom remodel. We can’t wait to get you a bathroom that’s comfortable, functional, and stylish. Just reach out to us for a FREE estimate.