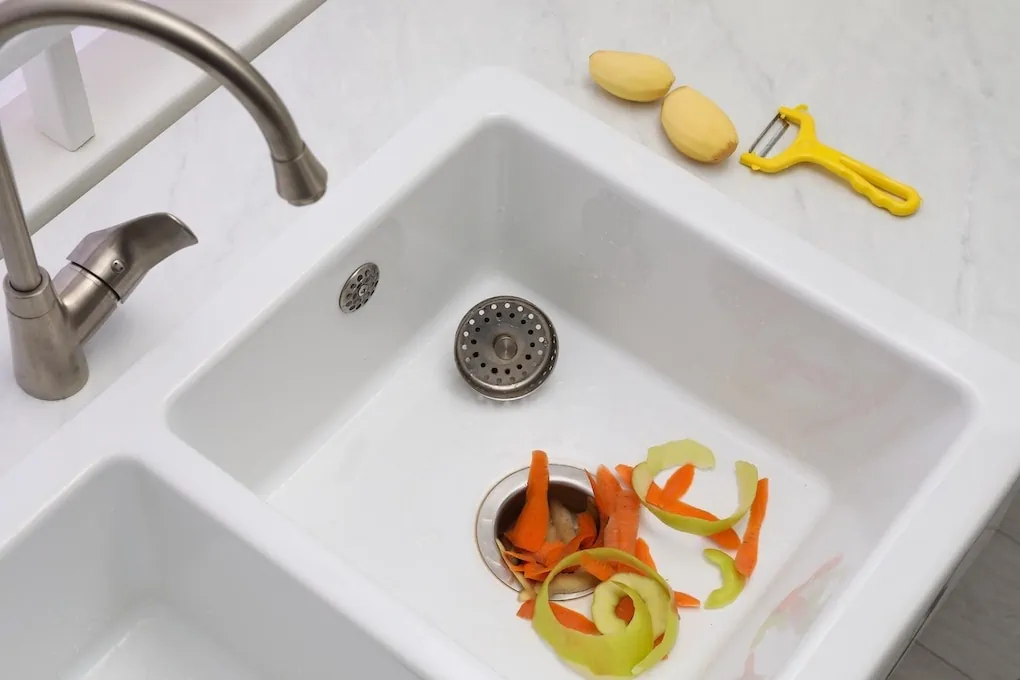
How To Install A Garbage Disposal In 9 Easy Steps
If you have a garbage disposal, you probably rely heavily on it to handle a ton of waste. They’re the best, aren’t they?
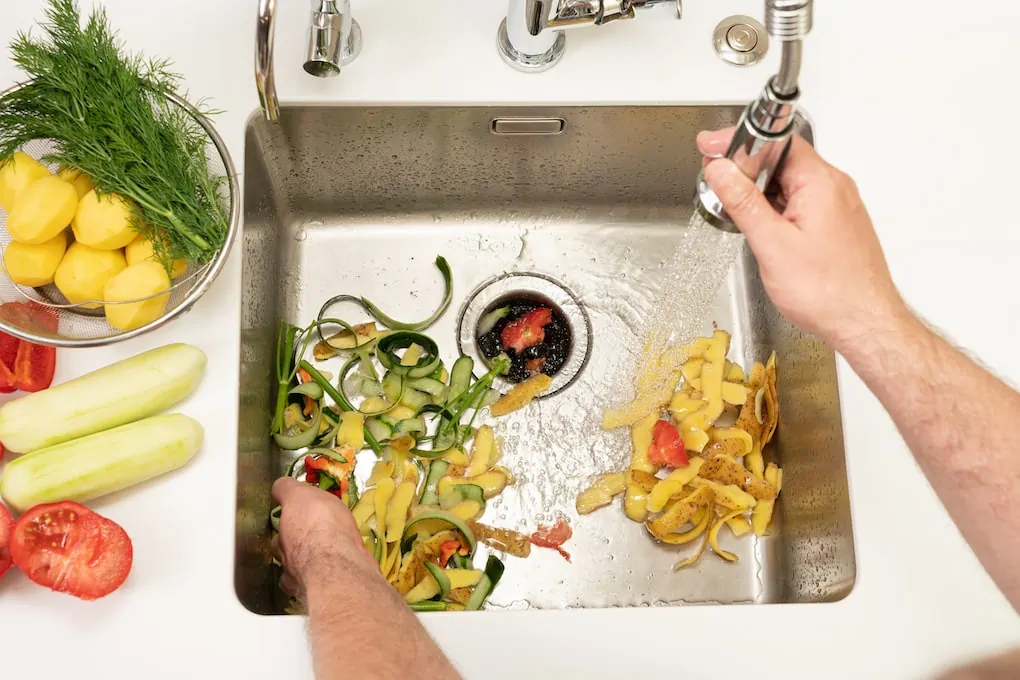
Garbage disposals are great because they keep your pipes clear and your garbage fresh by not housing stinky food scraps. If you don’t have one, you’re in luck because we’re going to show you how to install a garbage disposal in 9 easy steps.
What Type of Garbage Disposal Should I Get?
First things first, you need to know which type of garbage disposal you plan to install. There are actually two primary types of garbage disposals: continuous feed and batch feed disposals. Both work great but can perform differently depending on how you use them.
A continuous feed garbage disposal is probably what you’re most familiar with. It can accept waste and water continuously but will only blend and dispose of waste when the switch is turned on. Then, you must turn the switch off to end the cycle.
On the other hand, a batch feed garbage disposal only runs when a stopper is placed over the top. This type of garbage disposal is absolutely ideal in homes with children to avoid any foreign items falling down the disposal, or forbid that, hands being near it when it’s running.
You will also want to consider the size of the disposal you install. Some disposals are really big and may not fit under your sink. So when you go to the hardware store or start researching garbage disposals, make sure you have measured how much space you have under your sink—considering where your pipes are.
What Do I Need to Install a Garbage Disposal?
Your new installation will probably go much easier if you have an existing garbage disposal. This is because you’ll simply be disconnecting the old one and reconnecting a new one. But if not, you will need a few things to get started.
You need to have access to a plug-in under your sink. This might be something you need to get wired in your kitchen as it’s not always standard for an outlet to be under the sink, especially in older homes. You can hire a licensed electrician to do that for you before you begin.
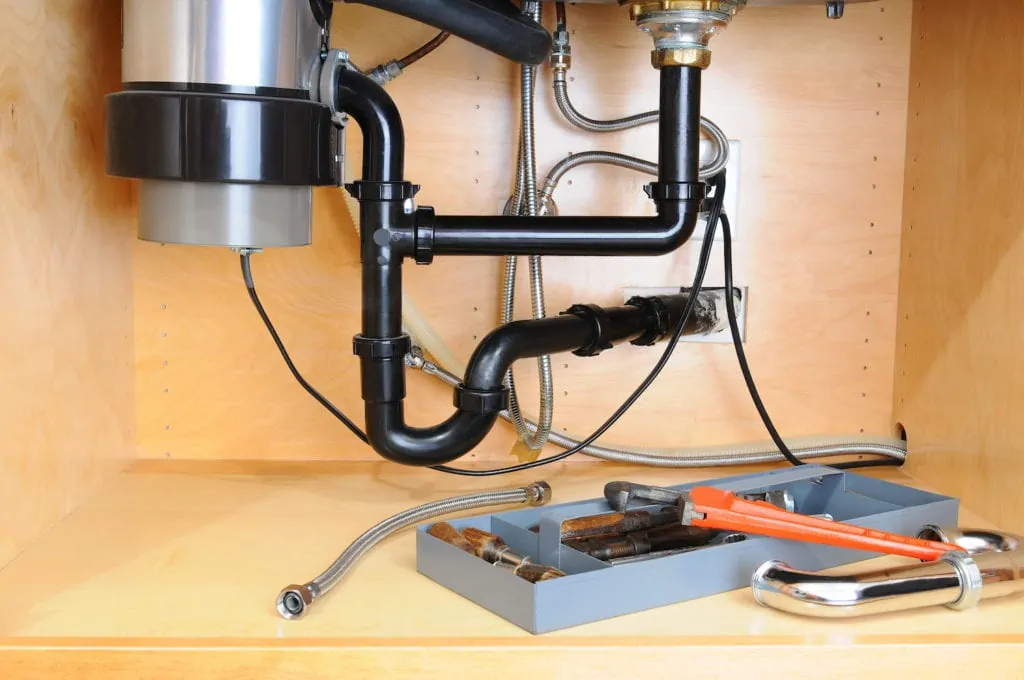
You need to attach the disposal under your sink and hook up the hose to run wastewater through. This can be a little tricky, but it’s not impossible, even if you’re not an experienced plumber.
You need to have some tools and materials to help you get the job done safely and effectively.
These tools include:
A screwdriver
A disposer wrench
A hacksaw
Water pump pliers
Bucket and rags
Plumber’s putty
Electrical cord
Safety supplies, including goggles and a dust mask
Your new disposal and hoses
How to Install a Garbage Disposal: 9 Simple Steps
Now to the fun part; a step-by-step guide on how to install a garbage disposal. If you follow these steps, you’ll be chopping up food waste in no time!
Step 1: Read Your Owner’s Manual Thoroughly
This is probably the most crucial step. The owner’s manual for your disposal will have all the information you need to install it, including what tools and materials you’ll need, as well as specific instructions for your model. Reading it beforehand can ensure you don’t miss any steps along the way.
Step 2: Remove Existing Disposal (If Applicable)
If you already have a garbage disposal in your sink, you’ll want to start by disconnecting it. But before that, turn off the power at your circuit breaker and turn off your water shut-off valve. Start by unplugging the power source then disconnecting the drain flange. Just hold it with one hand and turn it counterclockwise to remove it from the sink. Then, use pliers to unscrew the hose clamp from the discharge pipe.
Step 3: Wire Your Disposal
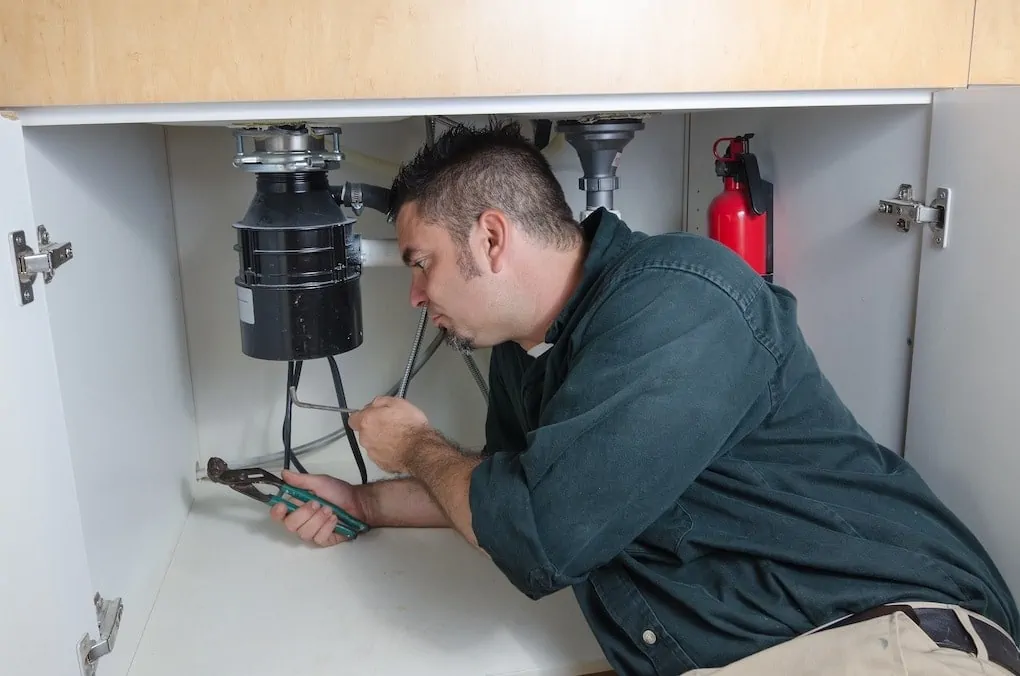
This step may depend on whether your disposal comes with a power cord or not. Sometimes they do not, so it will need to be wired either with the old power cord from your existing disposal or a newly purchased one.
There is a small plate on the bottom that you can remove to reveal the capped wires to wire your disposal. Most cords and disposals will have the same standard colored wires. You should follow the manufacturer’s instructions for this, but in general, you’ll connect black to black, white to white, then the green wire connects to the ground screw.
Step 4: Install the Drain
You’ll want to remove the existing drain flange and replace it with a new one for your disposal. Pry it up gently, then remove any old plumber’s putty. Then, replace it with your new drain flange by first putting 1/4 inch of new putty around the underside and pressing snugly into the drain hole.
To keep it in place, put a towel or pad down and then a weight to hold it down. Or have a friend or family member apply pressure as you work underneath to mount the garbage disposal.
Step 5: Place the Mounting Ring Underneath
There are actually two types of attachments for garbage disposals. You’ll either have an EZ Mount or a 3-Bolt Mount. Both are simple enough to install, but the mounting ring would be different for each.
To install your mounting ring, follow these steps:
Align the rubber gasket between your drain flange and mounting ring.
Tighten your fasteners on the mounting ring, so they are snug but not too tight.
Keep going until the mounting is snug against your gasket for a watertight seal.
Step 6: Mount Your Disposal
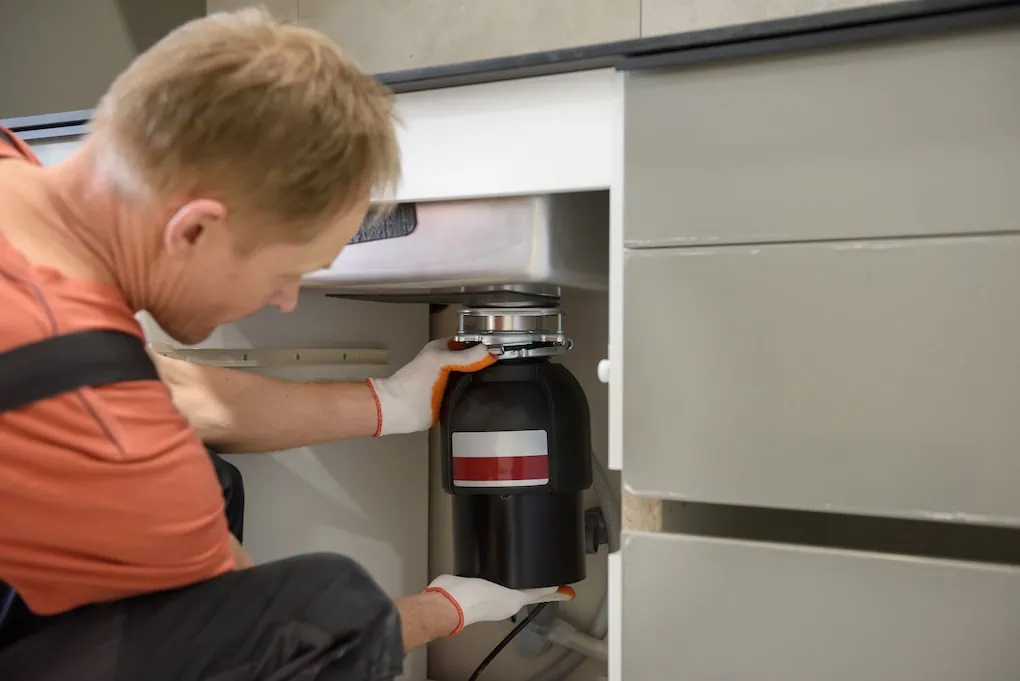
Now, you’ll want to carefully lift your disposal up to attach it to your sink mounting assembly. Secure it by turning it into place, connecting the snap ring, then tightening the appropriate fasteners.
Step 7: Attach the P-Trap and Drain Hose
Next, you must attach it to the P-trap, drain hose, or dishwasher hose. You may not have all of these, but it’s pretty straightforward, and you can see a walk-through in the video down below.
If you want your dishwasher to drain into the garbage disposal, you will need to carefully pop out the plugs on the side with a screwdriver and hammer. LEAVE THE PLUGS IN if you do not have a dishwasher hose to connect to.
Step 8: Double-Check Fasteners and Plug In Your Disposal
Ensure your disposal is securely in place, and the drain flange is flush on the top.
Secure all mounting screws to be snug but not too tight.
Remove excess plumber’s putty from the top of your drain.
Plugin the power source to your disposal.
Turn the power and water back on.
Step 9: Test it Out
Now you get to test it out! Keep a bucket underneath your garbage disposal if there is a leak somewhere when you run the water. Go ahead and run some water for a few seconds (up to a minute) and flip the switch to the disposal. If it looks good with no signs of leaks or weird sounds, go ahead and try busting up some food scraps.
When In Doubt, Call the Pros
If you are worried you might not be installing your garbage disposal correctly, it could be time to call in a professional plumber. When in doubt, it is best to hire a professional to ensure everything is connected properly and there are no leaks in your new system.
4Front Energy has a reputation of excellence for both plumbing and customer service. We can repair or replace your garbage disposal with ease and be a resource for you to maintain it moving forward. If you are having trouble with your garbage disposal, give us a call today! We would love to help.
Request Service

Why Choose 4Front Energy?
We’re a Service Company, Not a Sales Company
- Licensed, bonded & insured contractor
- Trusted Twin Cities service provider for nearly 30 years
- Reliable service excellence
- One number for electric, HVAC, and plumbing
- Stand behind our work with integrity
- Fair and straightforward pricing
- Provide invaluable comfort and integrated efficiency
- Technicians that take pride in their work