We don’t say this to scare you, but it’s critical you know the importance of making sure you do your electrical correctly and by the book—like knowing how to add an electrical outlet.
But, if you are confident that you can do some electrical work on your own, here’s how to add an electrical outlet to your home in 5 easy steps.
How To Add An Electrical Outlet To Your Home (5 Easy Steps)
Tools Needed For The Job:
Materials Required:
How To Add An Electrical Outlet To Your Home (5 Easy Steps)
Step 1: Shut Off Electrical Outlet
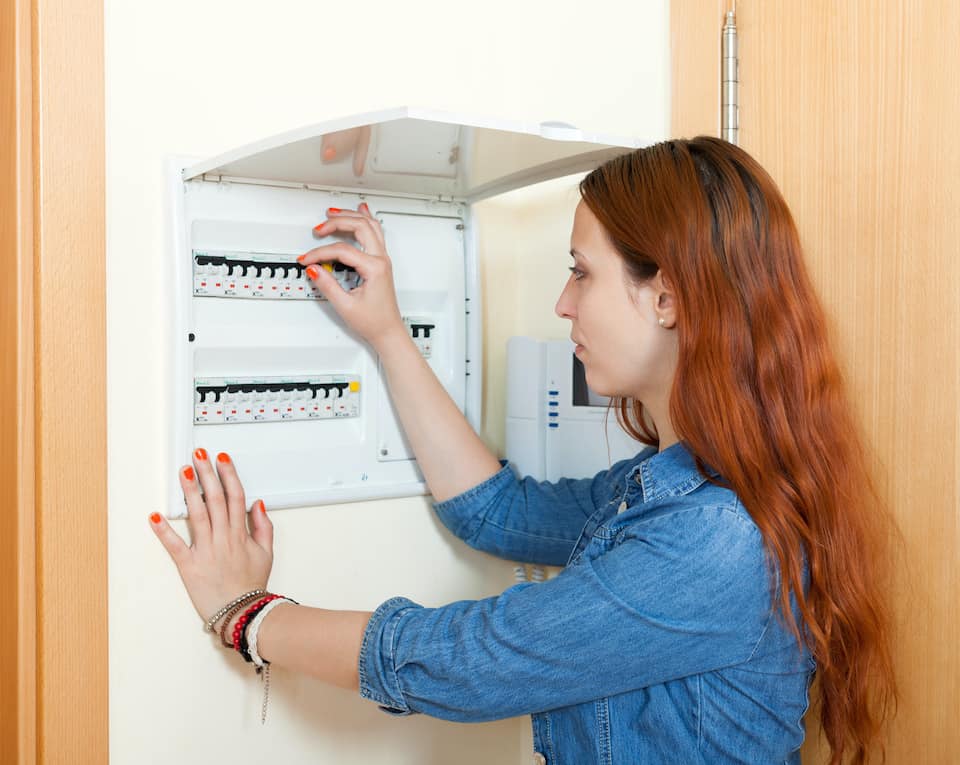
First, you need to turn off the power on the main panel. Locate the correct breaker and make sure it is turned off.
Next, use an electronic stud finder to find the studs on both sides. Once you locate the studs, you can put your new outlet anywhere between them.
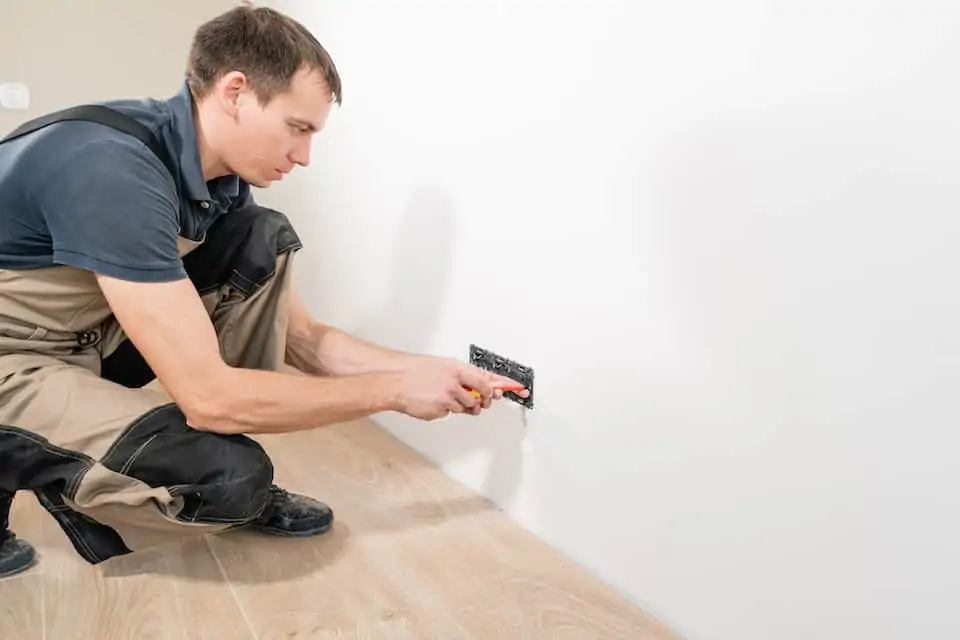
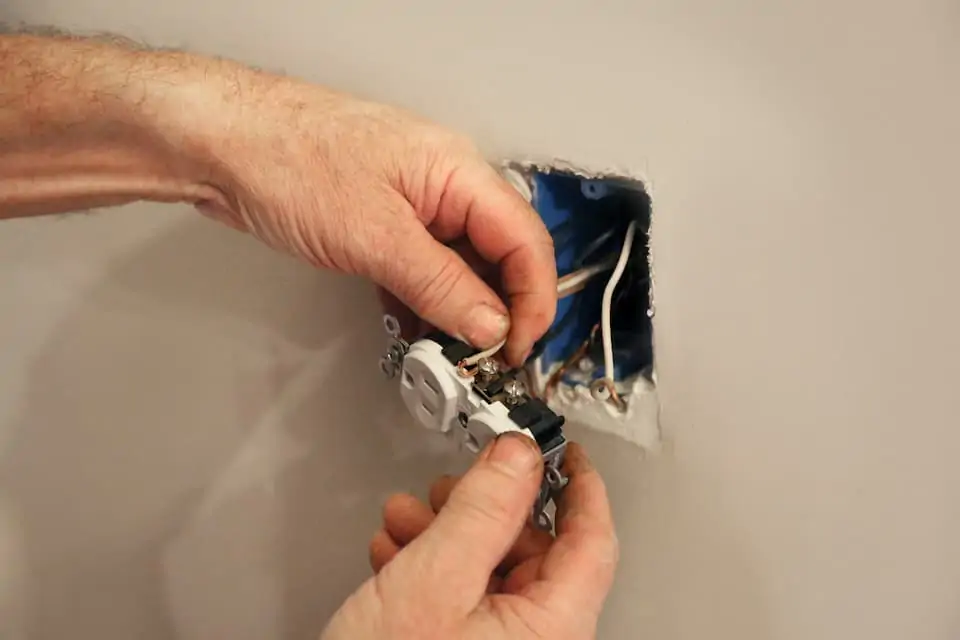
Unscrew the outlet and use a voltage tester to ensure the power is indeed off. With either lead touching the bare copper wire (bare copper), touch the other lead first to the neutral terminals (silver colored), then to the hot terminals (gold colored).
If you notice the light glowing with either contact, the circuit is live. Hold the face of the electrical box against the wall in the desired position. Outline the box with a pencil. Cut the outline out with a drywall saw.
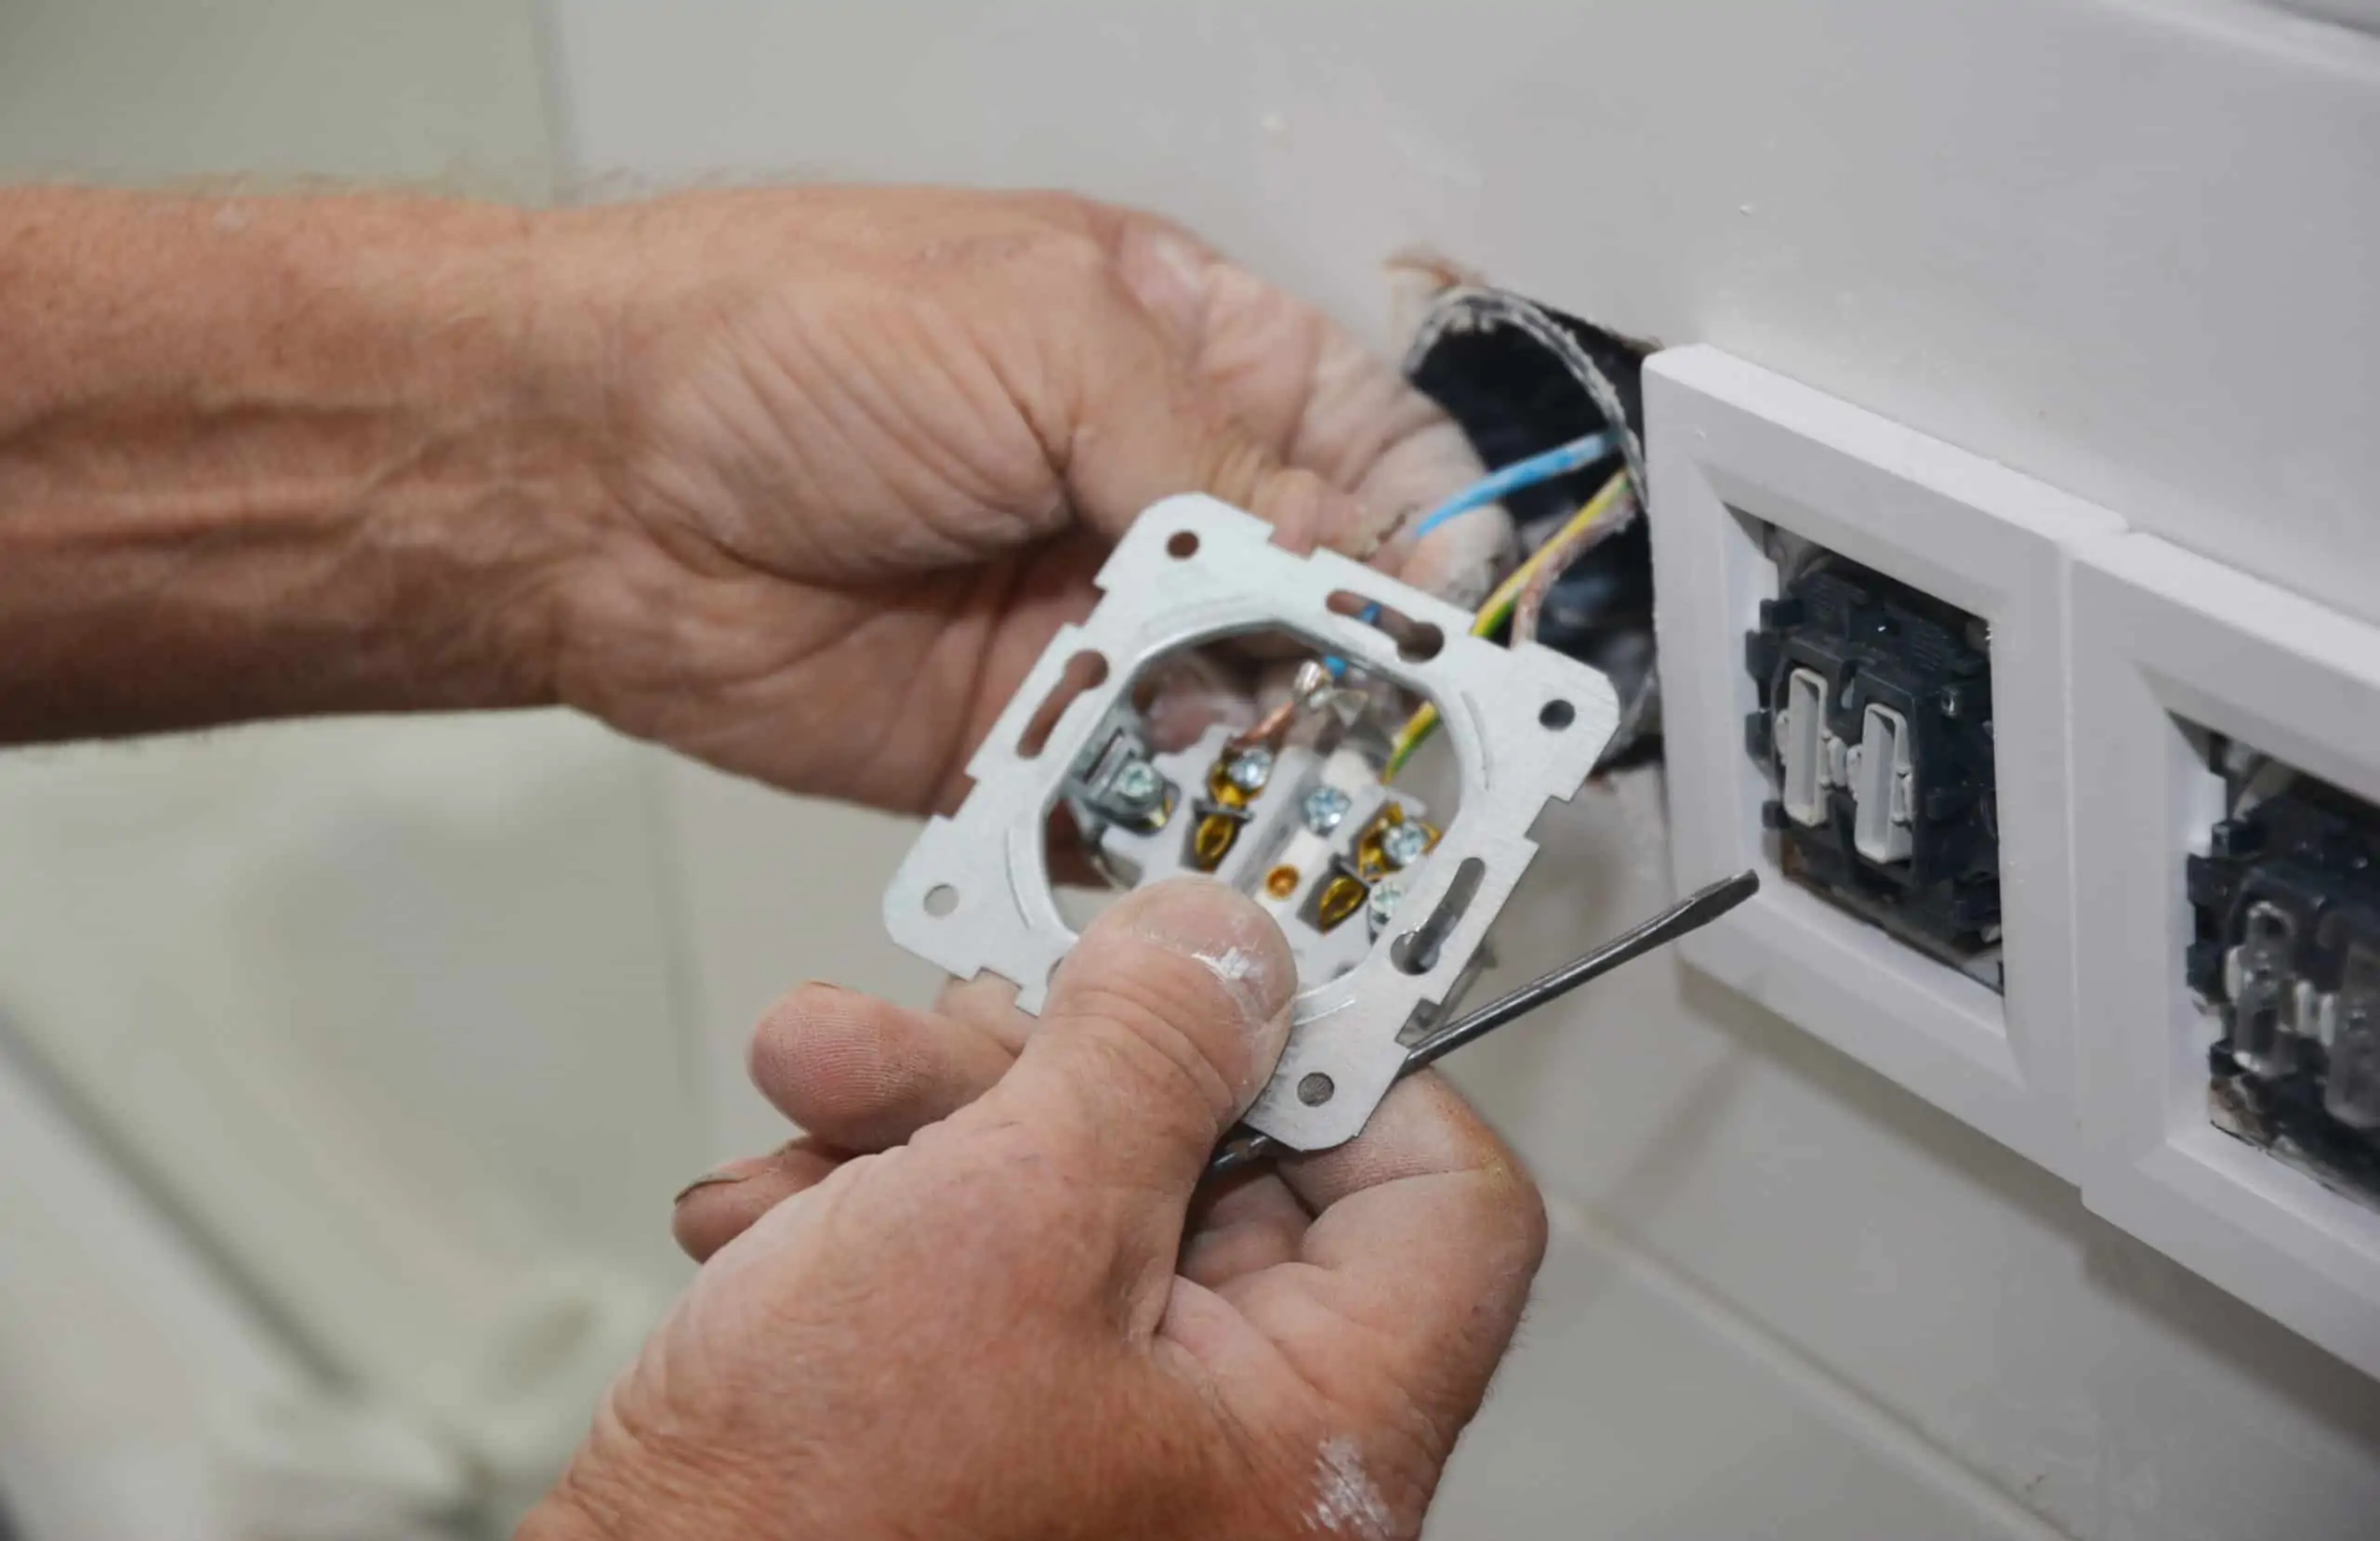
Using your screwdriver, unscrew the existing outlet on the other side of the wall outlet from its box. Punch out one side of the knock-outs at the back of the box.
Step 2: Installing the New Cable
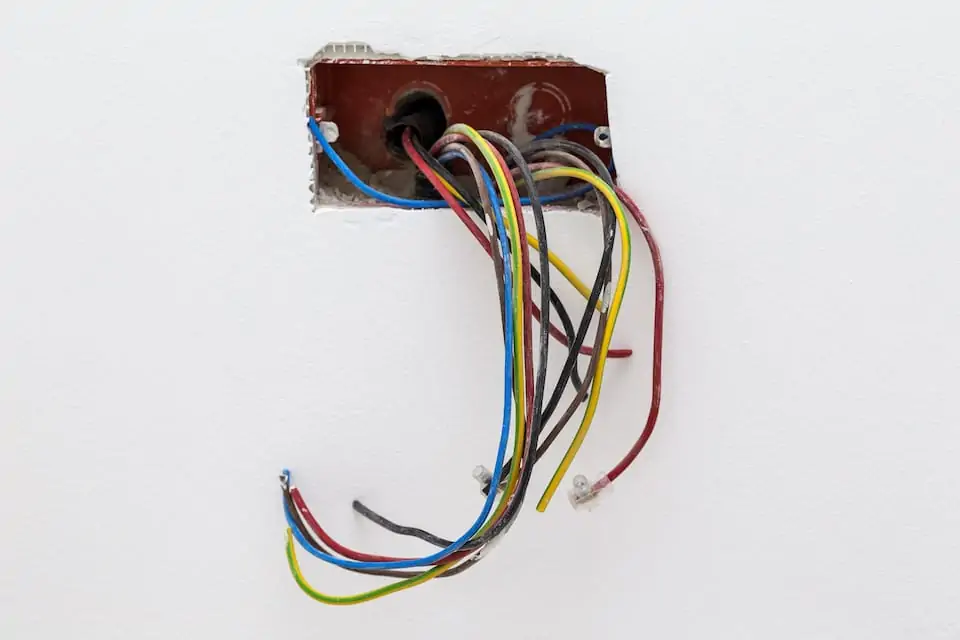
Now it’s time to feed the new cable into the wall. To do this, install the entire length of the cable by feeding it through one of the knock-out holes you made earlier at the back of the box (you can create the hole by punching it out with your screwdriver).
Feed the cable through so that it can reach the new box. You’ll also want an extra foot of wire added on to that.
Step 3: Rewiring
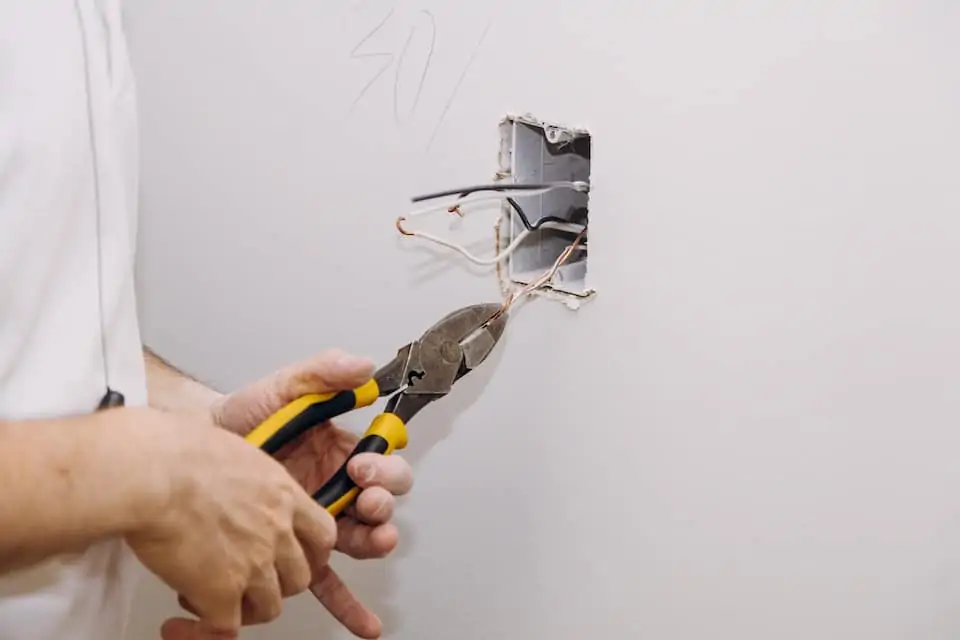
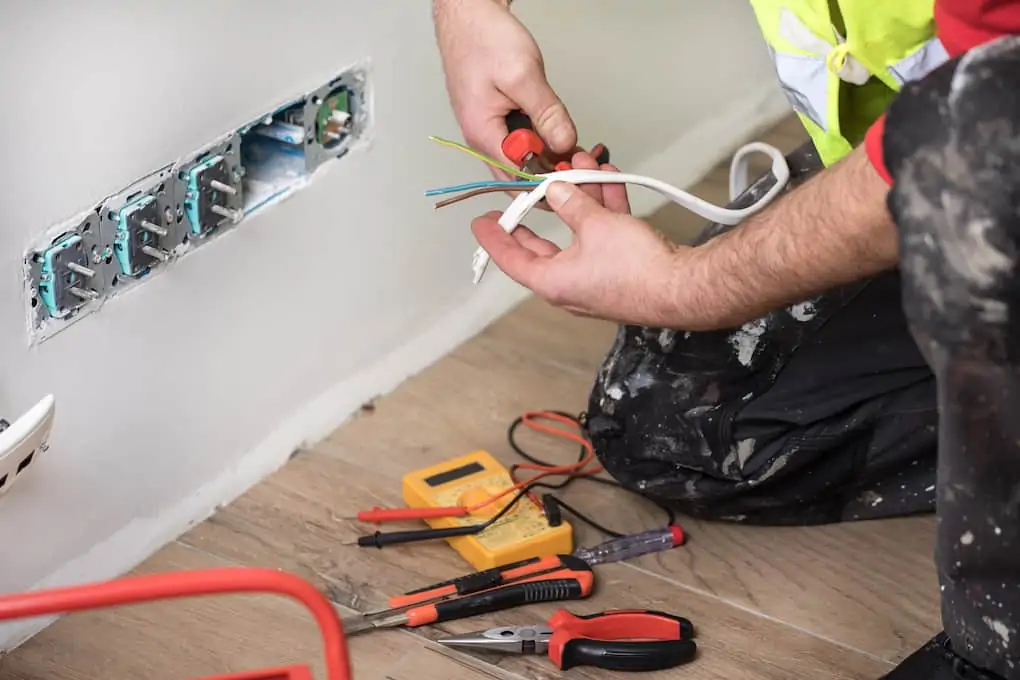
Now it’s time to start rewiring the existing electrical outlet. To do so, connect the wires of the new cable to the existing wires. Using your wire cutter/stripper, strip 10 inches of plastic sheathing from the new cable so that you can see copper, white, and black wires.
Run the new cable with sheathing at least a couple of inches up inside the box. Then, double over the excess wires to ensure the cable is in place. Next, strip 5/8 inches of insulation off both ends and connect the two wires from the new cable and the existing bundles. Make sure to match the colors together.
Step 4: Thread the Cable Through to the New Location
Step four starts with marking the opening for the new box and cutting it out with your saw. Using a wire coat hanger as a hook, fish for the new cable. Pull the cable through the opening cut in the wall.
Next, strip roughly nine inches of sheathing off of the end of the cable. Take the cable, and insert it, so the sheath extends about one inch into the box. Then mount the box onto the wall.
Step 5: Wire the New Outlet
Now, mount the new box in the opening. Connect the new wires to the new outlet. The white wire should go to the silver-colored terminal screw. The black wire will go to the gold-colored terminal screw. And last, the bare ware goes to the green grounding screw.
Ensure that the cable sheath is secure inside the box.
The final step—as with every DIY electrical project—is to call an inspector so that they can check your work and make sure it’s up to code.
Feeling Concerned? Contact 4Front Energy For Professional Help!
If you have any concerns about DIYing your electrical, reach out to a professional instead. DIY electrical is not something to take lightly, and if you doubt your ability for any reason, turn to 4Front Energy for all your electrical needs. We offer extensive services, including wiring, HVAC, EV charging installation, and more. Whether you are in need of residential or commercial services, we’ve got you covered. Contact us today for a free consultation!
For more electrical tips, check out the rest of our blog!

