In a state like Minnesota, where it’s not impossible to have a winter temperature of -60 degrees Fahrenheit, you need access to hot water. If it’s been more than a decade since you last replaced your water heater, it’s probably time to install a new one.
Because of the complexity and safety risks involved in this project, it’s best to have a professional plumber and electrician do the job for you. However, it is also possible to replace a water heater yourself if you have the appropriate tools and experience.
If you want to tackle this project on your own, follow these step-by-step instructions for home electric water heater installation.
Before You Begin: Prep Your Home
Before you begin the installation process, check the electrical requirements of your new system and make sure that your home can handle that level of electrical output. If not, you’ll need to upgrade the electrical system in your home before you begin the installation process.
You’ll also want to confirm that your home has the appropriate water pressure for your electric water heater. If the cold water supply coming to your home has too low of pressure, you’ll need to adjust it to the proper level before proceeding.
One more word of caution before we get into it: if anything in your product manual contradicts the steps we lay out here, follow your product manual. This will help you install everything properly and avoid voiding the warranty on your water heater.
1. Choose the Installation Place
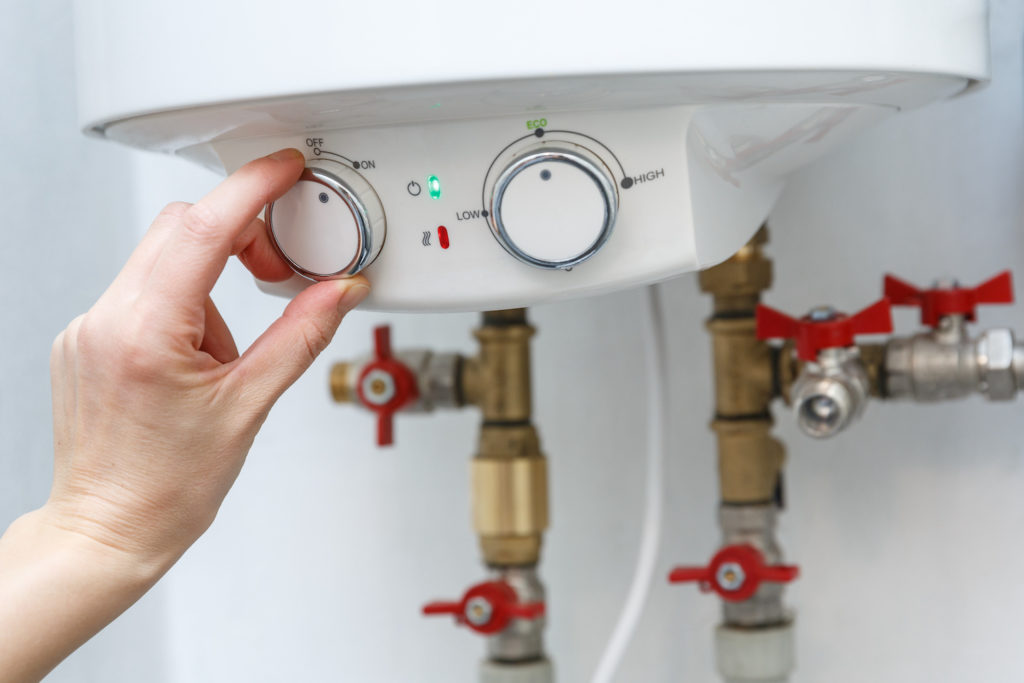
If you’re transitioning from using a water heater with a tank to a tankless water heater system, you may have more options for placing your water heater in your home than before. As long as you’re able to connect the water heater to the cold water supply lines for your home, you can place it virtually anywhere it will fit and is convenient for you to access.
Unlike either a gas water heater or a water heater with a tank, tankless water heaters that use electricity don’t require space for ventilation. This means that they can usually fit in your bathroom, under a sink, or in other convenient, out-of-the-way locations. However, there’s also nothing wrong with simply installing it where your old water heater was located.
2. Collect Your Tools
You’ll need the following tools to complete this project:
- Drill
- Screwdrivers
- Pipe cutter
- Flex pipe
- Pliers
- Pipe wrench
- Tape measure
- Pencil
- Sandpaper
- Teflon tape
- Temperature and pressure relief valve
- Pipe insulation
The electric water heater should also come with a mounting system, including anchors and screws, that you’ll use to attach it to the wall.
3. Remove the Old Water Heater
Start by turning off any circuit breaker that runs power to your water heater. Use a non-contact voltage detector to make sure that there’s no electricity running through the unit. Next, turn on a hot water faucet in your home, and let it run until the water runs cold. (If you skip this step, you risk scalding yourself with hot water when you drain the old water heater tank.)
Once the water runs cold, shut off the water supply to the water heater. Drain the tank by connecting a hose to the drain valve at the bottom of the unit, and let the water from the tank run into a bucket or floor drain. Leaving the hot water faucet open during this process can make it go more quickly.
Once the tank has been completely drained, disconnect the old unit from the water supply lines, disconnect the electrical wiring, and remove existing mounting hardware in addition to the old water heater unit. Pro tip: labeling the electrical wires at this stage will help you avoid confusion when it’s time to connect the new unit.
4. Mount Unit to Wall
Carefully remove the front cover of the new unit, being careful not to lose any of the screws in the process. Disconnect any cables connecting the front cover to the rest of the unit.
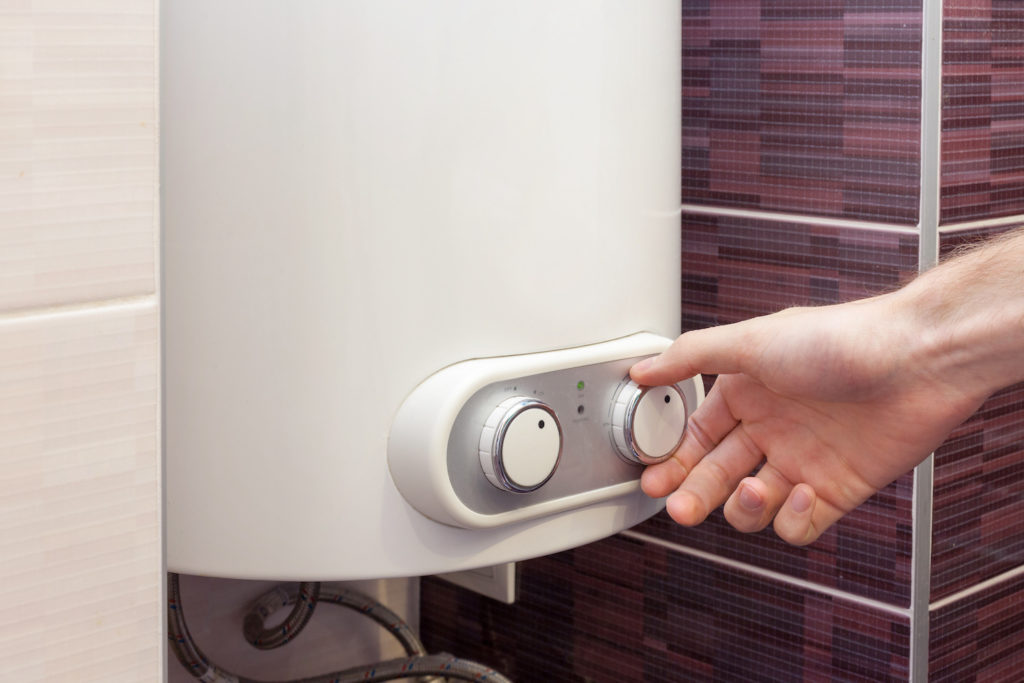
Using the screws and mounting anchors or brackets that came with the unit, follow the unit’s instruction manual for mounting the water heater to the wall.
5. Establish Water Connections
Connect your water heater to its cold and hot water connections using flexible stainless steel piping and Teflon tape. While you can also use copper tubing or PVC pipes for this step, they must be graded for high temperatures and flexible enough to allow you access to your system for regular cleaning.
Install at least one shutoff valve at this step. That way, if you need to do future work on your water heater, you can turn off the water supply only to your water heater instead of having to turn off the supply to your entire home.
6. Bleed the System
Open all the hot water outlets in your home, and leave them open. This forces the air out of your pipes and water heater, prepping the system for use. After a few minutes, close all the hot water outlets.
7. Check Electrical Connections
Establish the electrical connections between your water heater and the electrical panel, following the instructions laid out in the product manual. Double-check that everything is wired correctly, then reattach the front cover of the unit.
8. Finish Installation
Turn the circuit breaker back on. Testing each of your faucets one by one, make sure that the hot water isn’t too hot or too cold. Adjust the temperature settings as needed.
9. Schedule an Inspection
If required in your state, have the unit inspected by a licensed plumber to ensure that the job was done correctly. Even if it’s not required, it can be a good idea to schedule an inspection to make sure that every step of the installation process was done correctly.
Get Some Help With Your Electric Water Heater Installation
As you can see, while installing a new electric water heater is a completely doable process, it also has specific steps that need to be completed, and it’s not suitable for all beginners in the world of DIY home repair.
Thankfully, our experienced on-staff plumbers are more than happy to help you with your new water heater project. In just a few hours, we’ll have your old water heater out of the way and your new one installed and ready to go.
Ready to chat about the specifics of your project? Get in touch with us for a free estimate!

