DIY plumbing is, to put it lightly, risky. Even the handiest homeowner might struggle with getting their home plumbing systems repaired or installed correctly. However, it’s not impossible. But knowing the dos and don’ts plus how to meet plumbing code can save you a lot of pain and strife. So we’re here to help!
DIY Plumbing: What Can Go Wrong?
Needless to say, a lot can go wrong when DIY plumbing fails. From a flooded basement to costly water damage, homeowners might face many challenges by tackling a plumbing project that is over their heads. Some of the most common DIY plumbing fails we see include:
-
Not shutting the water off first. This is a rookie mistake that can easily lead to water damage. No matter what area of your plumbing you’re working on, you must shut off your main water line first. This ensures water does not flow during repairs and saves you from extensive water damage or pressure build-up.
-
Not knowing the local plumbing code and installing something incorrectly. This could result in fines, or worse, a structural issue with your home. Check with your state government’s website for the most up-to-date plumbing codes.
-
Using the wrong materials. Trying to save money by using subpar materials is never a good idea—it will only cost you more in the long run.
-
Overtightening connections. This is probably the most common mistake DIY homeowners make. You don’t have to crank your connections till they can’t possibly go any further. This can only strip threads, tear plumber’s tape, and cause leaks or damage.
-
Using the wrong tape. Yes, there is a right and wrong way to wrap your pipes with Teflon tape. Wrapping it counterclockwise would actually shred the tape as you tighten your fittings and connections.
-
Also, use the right tape for the right job. i.e., thin white or thick pink thread tape is for fittings that carry water. And gas lines will get the gas-rated yellow tape.
-
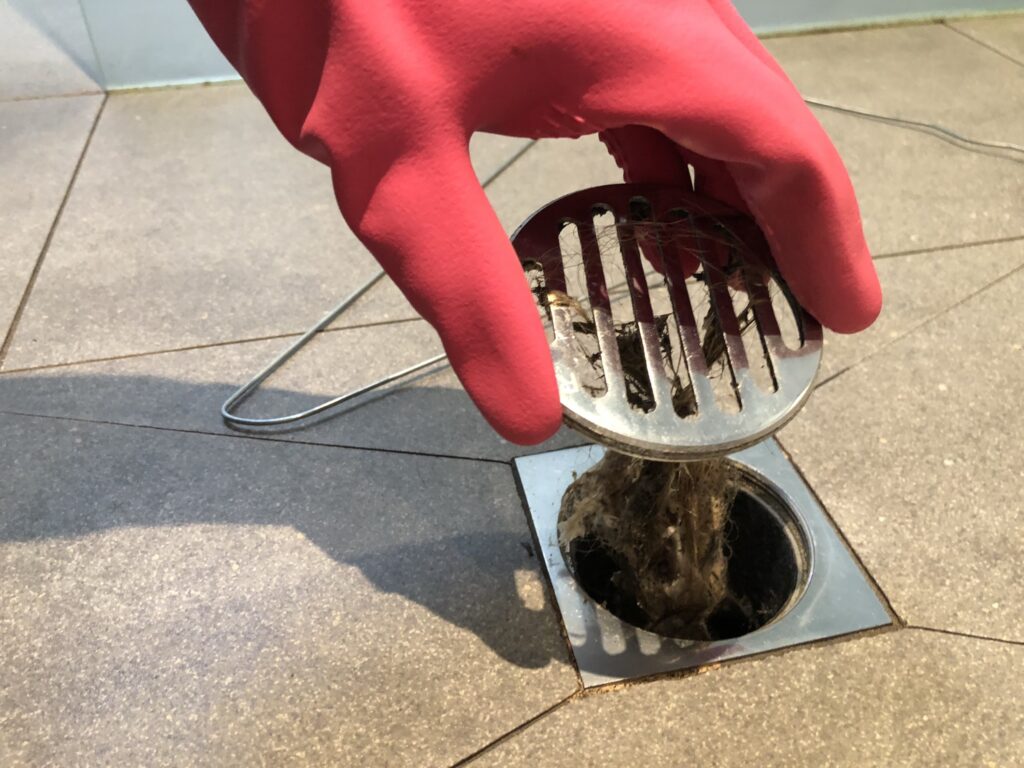
Overuse of drain cleaners. Drain cleaners are so bad for your plumbing system. These cleaners can severely damage metal or rubber in your pipes or plumbing systems with overuse. The best way to clear a clogged drain is to use a snake or remove the p-trap and dump out the clog.
-
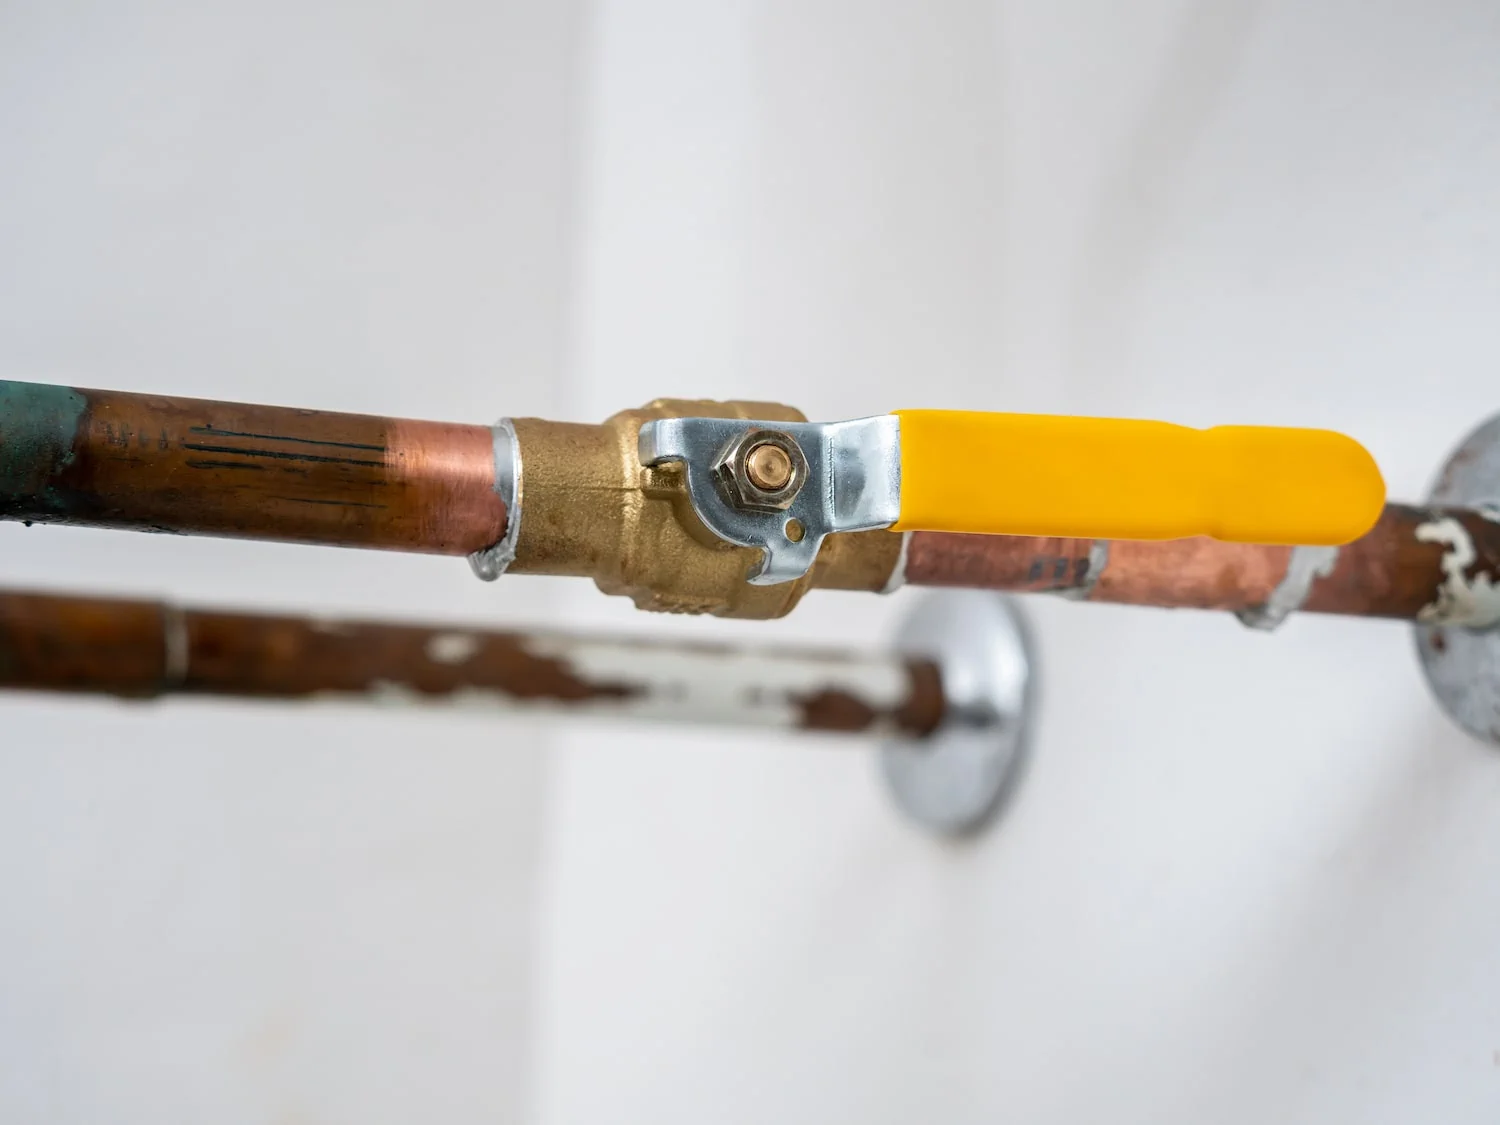
Forcing a stuck valve. Because they’re not used very often, shut-off valves can be tough to turn when the time comes. And the biggest mistake you can make is forcing it to turn using a wrench or other tool. More often than not, this will just break off the handle, and you’ll be stuck having to call a plumber anyway.
-
Using the wrong tools or parts. It’s essential to have the right tools for the job. You can’t use a wrench where you should be using a screwdriver or an O-ring when it should be thread tape.
How to Put Together a Plumbing Starter Tool Kit
The first step to avoiding issues with your DIY plumbing project is to have the right tools and materials on hand at all times. This way, you can quickly fix any minor leaks or issues without running to the hardware store.
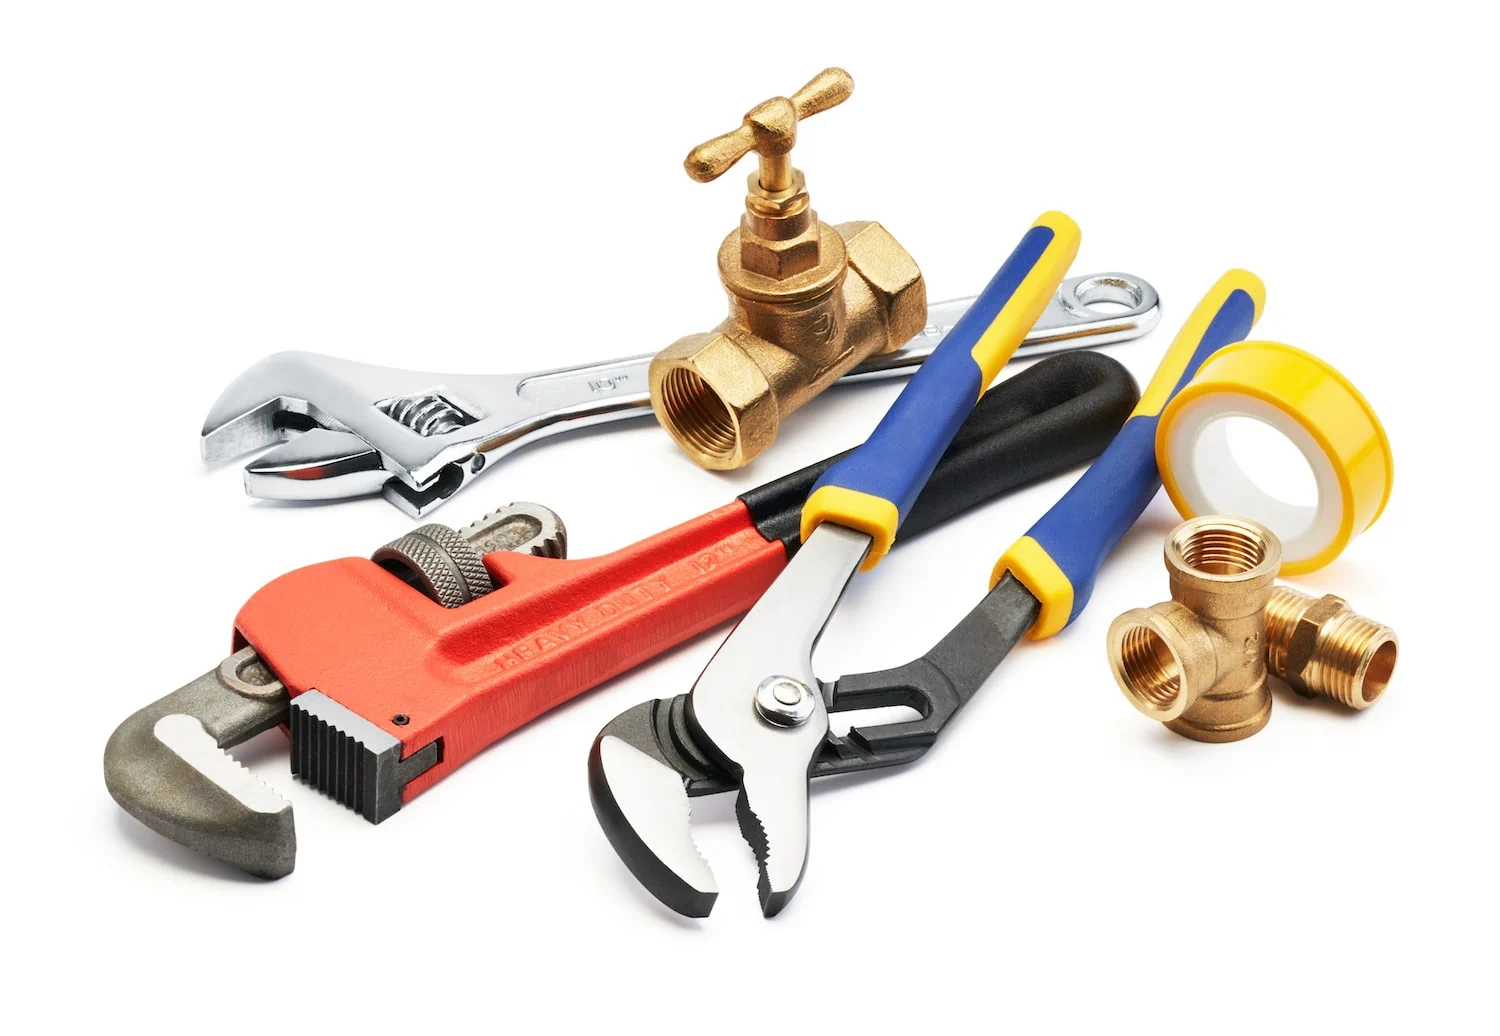
A DIY Plumber’s Toolkit Should Include:
DIY Tips for the Handy Homeowner
You know what they say: knowledge is power. And knowing these vital tips for your DIY plumbing project can be incredibly powerful against damage, leaks, and late-night calls to the plumber. So heed our words if you want to ensure a seamless DIY plumbing experience.
1) Keep Your Plumbing Kit Handy
The kit we listed above should be in good condition and readily available. When you need it most, the last thing you want to do is dig through cabinets looking for the tool you need.
You may also want to have some rags and buckets handy near your toolkit if you need to make a mess removing a p-trap or working under a sink. Gloves can also come in handy to give you a better grip on the tools when tightening or loosening connections.
2) Locate Your Shut-Off Valves
You and everyone living in the house should know where the shut-off valves are (for all fixtures) and how to turn them on or off. In the event of a water leak or burst pipe, you will want to shut off the main water valve immediately. You can also shut off water to specific areas like the bathroom with a shut-off valve near those pipes. Know where they are and label them for ease of use.
3) Understand Your Home’s Plumbing System
It’s always a good idea to understand how your home’s plumbing system works. This includes the location of each fixture, where the water lines are, and how everything is connected. If you’re ever unsure about something while working on your project, take a picture for reference or consult with a professional plumber.
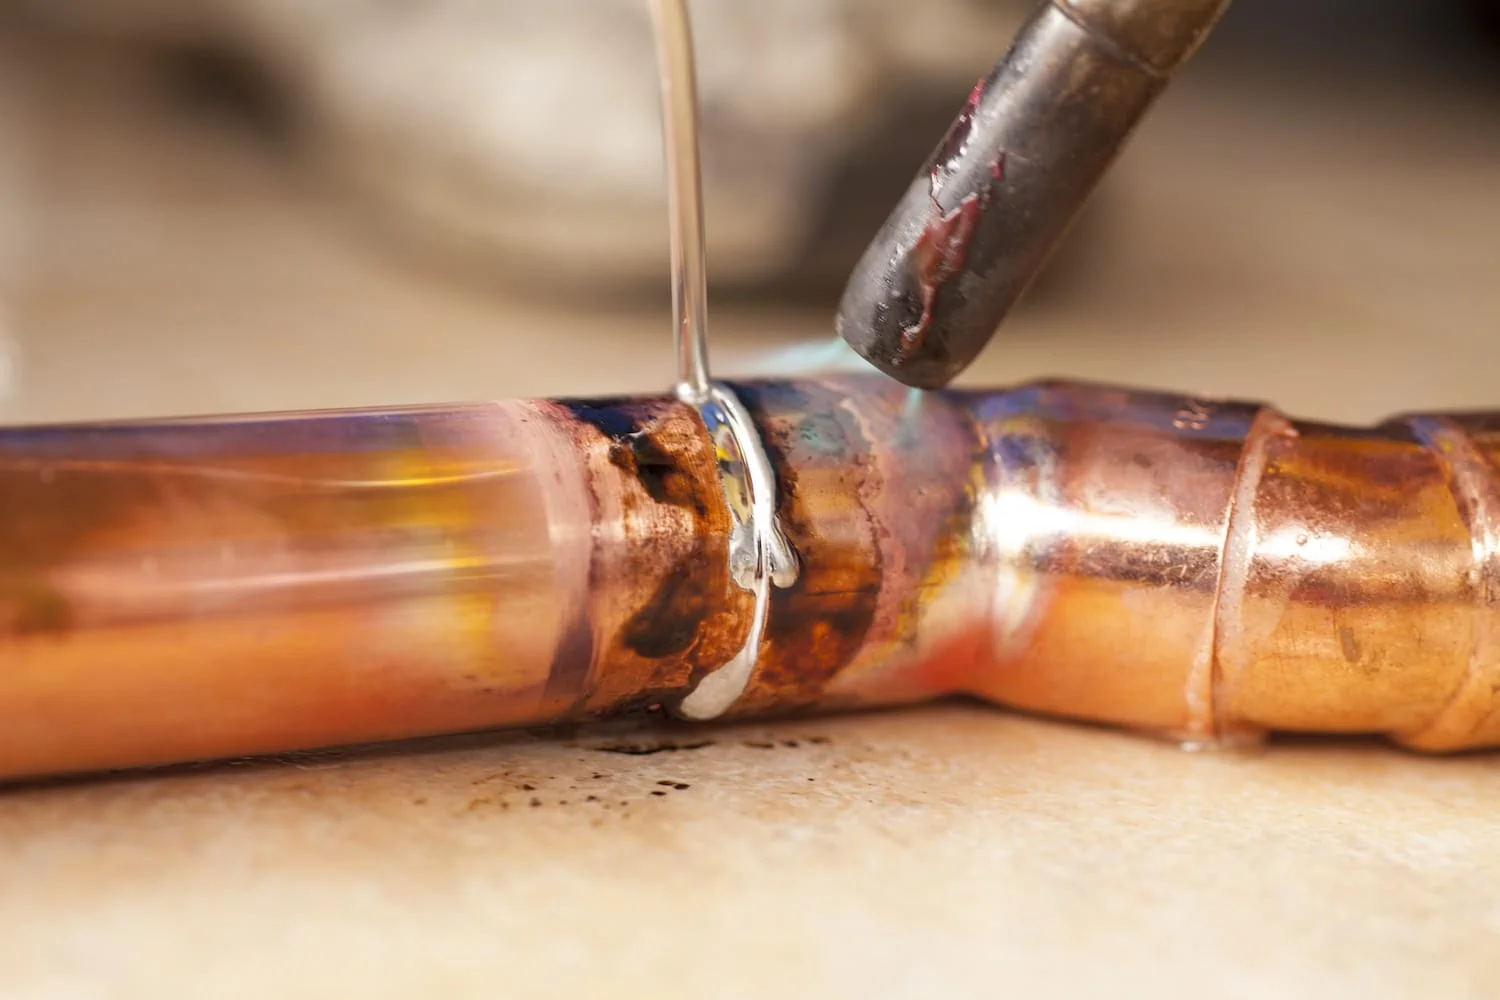
4) Learn How to Sweat a Copper Pipe
Sweating a copper pipe sounds intimidating, but it’s not. Even for inexperienced homeowners, having this skill in your back pocket can come in incredibly handy for fixing minor repairs on copper piping.
You can read about the steps here, but in a nutshell, it’s using a small torch, flux, and solder to seal the connections on copper pipes. Your local hardware store carries small torches for this exact task. Now, you might not want to tackle an entire re-piping project. But a few seconds of solder on your leaky copper pipe can save you a ton of time and money calling a plumber.
However, please call the pros if you ever feel like you’re getting over your head with a plumbing project.
What if DIY Plumbing Isn’t for You?
The #1 DIY plumbing tip we can give you is to never tackle a project you cannot handle. When it comes to plumbing projects, you can cause some real damage by attempting something you’re inexperienced in. So call the pros at 4Front Energy.
Our team of experts can, at the very least, help guide you through your process when you’re having issues. Or, we can step in to help when you need it most. Our years of experience have proven our abilities and ensure our homeowners can have the premium plumbing experience they deserve.

