How to Wire a House In 2022: The Ultimate Guide
Wiring a house sounds like an impossible task, but it’s entirely possible to do your own electrical work if you follow the correct steps. As electrical professionals, we’re going to walk you through how to wire a house safely and correctly.
You can save a ton of money by doing your own wiring on your home renovation or remodel. If you have the walls gutted already, why not go the extra mile and run your new wiring at the same time? Plenty of DIYers manage to wire their rooms every day, and we’re going to make sure you can do it without injuring yourself or poorly instilling your wiring to cause issues in the future.
Tools You’ll Need to Wire a House
It’s a mostly straightforward process to wire your home, but there are some tools you’ll need before we get started. We’re going to recommend the best tools for each step of wiring so that you know what will work best.
Wire Strippers
This is one of the most essential tools you can have when working with wires and cables. Electricians depend on wire strippers, and you’ll need to have a quality pair if it’s your first time.
Cable Tester
Testing a cable is an essential step in wiring because it provides information about how the wire has been connected at either end or if there are any problems with the connections themselves.
Cables and Cable Boxes
You will need enough cables, wires, and cable boxes to wire your space. First, measure the length of cables you’ll need, plus how many cable boxes you require to house everything. Keep in mind, certain sized cable boxes only recommend housing a few cables in one to not overload the socket.
Wire Connectors
Wire connectors will go over the ends of your hot wires for safety until the outlets and wiring are complete.
Cordless Drill (flexible)
You’re going to want a quality drill that is electric and battery-powered—we don’t recommend using a drill you have to plugin, as it will make things much more difficult. If you can, use a cordless drill that bends to reach odd angles. This will come in incredibly helpful when drilling through your studs in the corners.
Hammer
This is a tool you’ll need to drive your wires into place. It’s essential for installing cable staples. It can also act as a nail puller if you need it.
Tape Measure
This is one of the most important tools you’ll need. You’re going to want a quality tape measure that measures distances up to 30 feet with accuracy. A quality tape measure should be sturdy, accurate, and hold in place while marking your lengths with a pencil.
Masking Tape + Sharpie
Marking your cables is going to be essential to ensuring you label them correctly after they’re threaded through the walls in your room. You can use masking tape or write directly on the cable with which wire it’s for.
How To Wire a House: Step By Step
We’re going to walk you through wiring a standard room in your home that would have outlets, light switches, and at least one light fixture in the ceiling. This can be applied to just about any room you wire and other standard electrical jobs around the house.
Step 1: Locate and Mark Box Locations
Before you begin to wire your room, it’s essential that you first locate and mark the spots for any cable boxes or electrical outlets. You’re going to want a pencil so that you can mark these locations on either side of the open wall space where they will go in with masking tape. You can also write directly on the wall if you haven’t installed your drywall yet. You will mark each box as either a duplex receptacle (dual outlet), single switch, three-way switch, or light fixture. You can summarize using initials or use the electrician symbols found here.
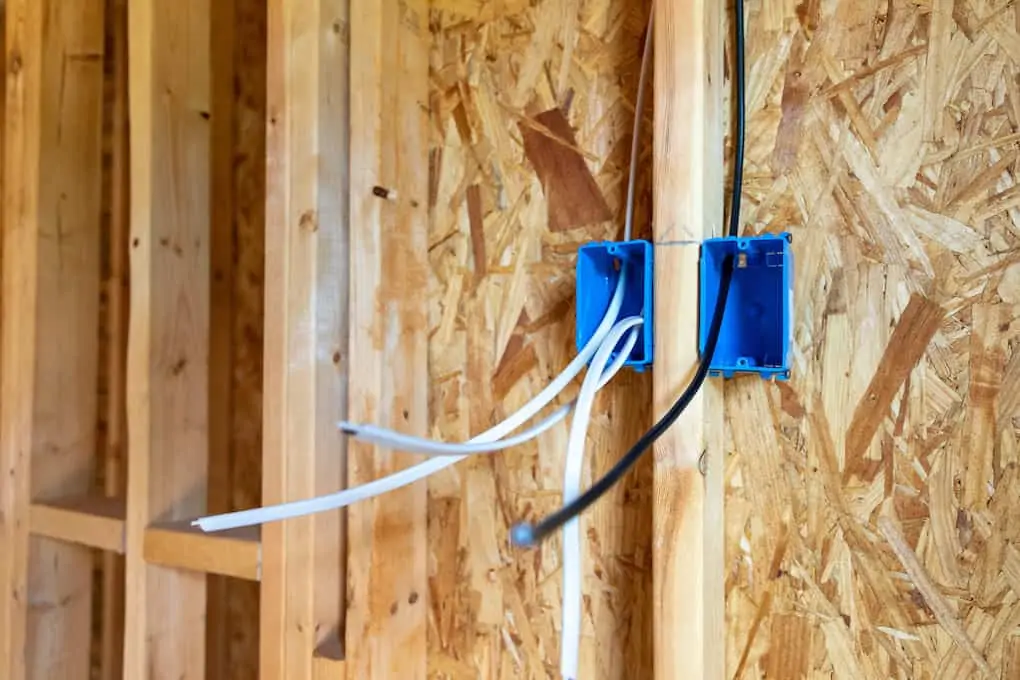
Step 2: Place Box on Your Frame
It’s important to place the box on your frame to know where it will go and how high or low. You can either measure each wall with your tape measure and mark it with a pencil or use a level to ensure everything is flush. Standard heights for outlets are 12 inches, and light switches will be 48 inches. Next, drill your box into the exposed wood frame in the spot you want it, making sure to place a 2×4 behind it to make room for drywall and window frames.
Step 3: Drill Bore Holes for Running Your Cables
Next, you’ll need to drill holes through the wall studs so you can run your electrical cables through them around the room. This ensures they don’t sit on the ground behind the wall and stay nice and organized. The holes should be at least 3/4 inch in size and be at least 1 1/4 inch away from the wall or back of the stud. This ensures the cables are run right through the middle and don’t touch any surrounding walls.
Step 4: Thread the Cable Through the Holes
Now, thread the cable through the holes in each stud. This may take some time to do depending on how many cables you have going through it. You’ll want to make sure they’re threaded as smoothly and evenly as possible so that there are no bulges or kinks. Threading a single wire can be done by hand, but if you have more, you might need to use needle-nose pliers to push and pull them through.
Step 5: Cut the Cable to Length at the Box
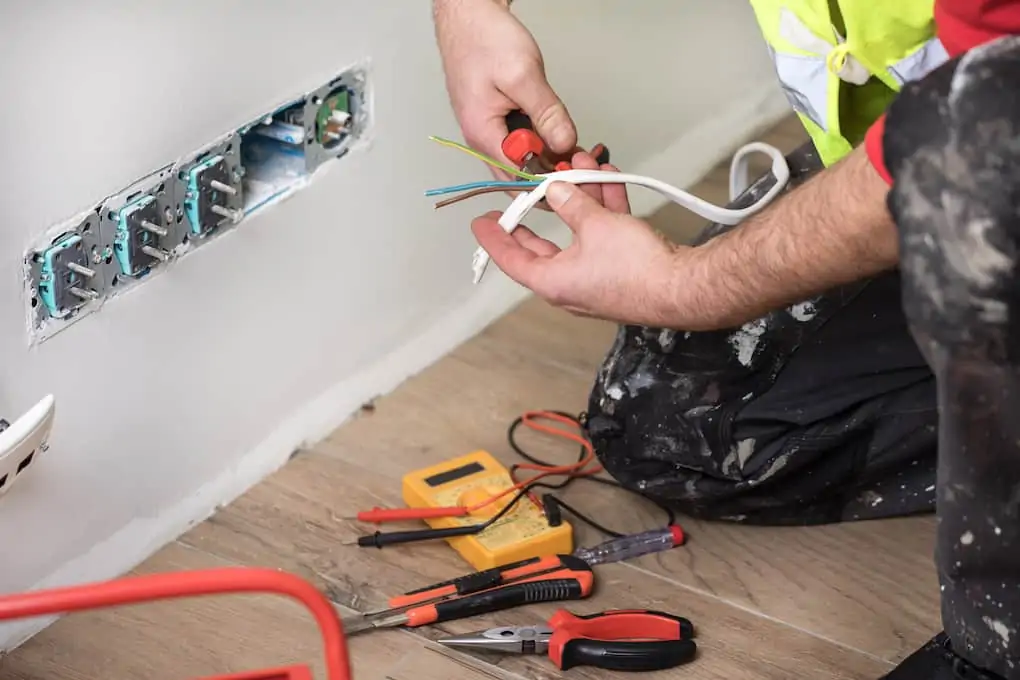
Once you reach your cable to the intended circuit or switch box, cut it to size, leaving at least 12 inches of extra at first. The last thing you want is to cut it too short. Strip this last section of all but 1 to inches of sheathing to expose the wires.
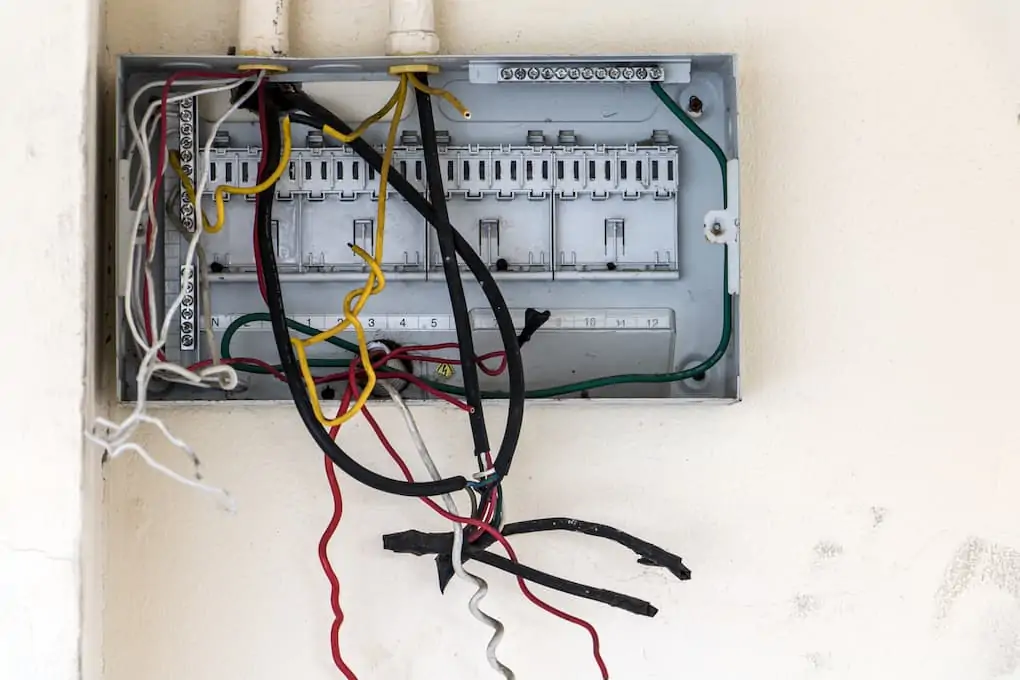
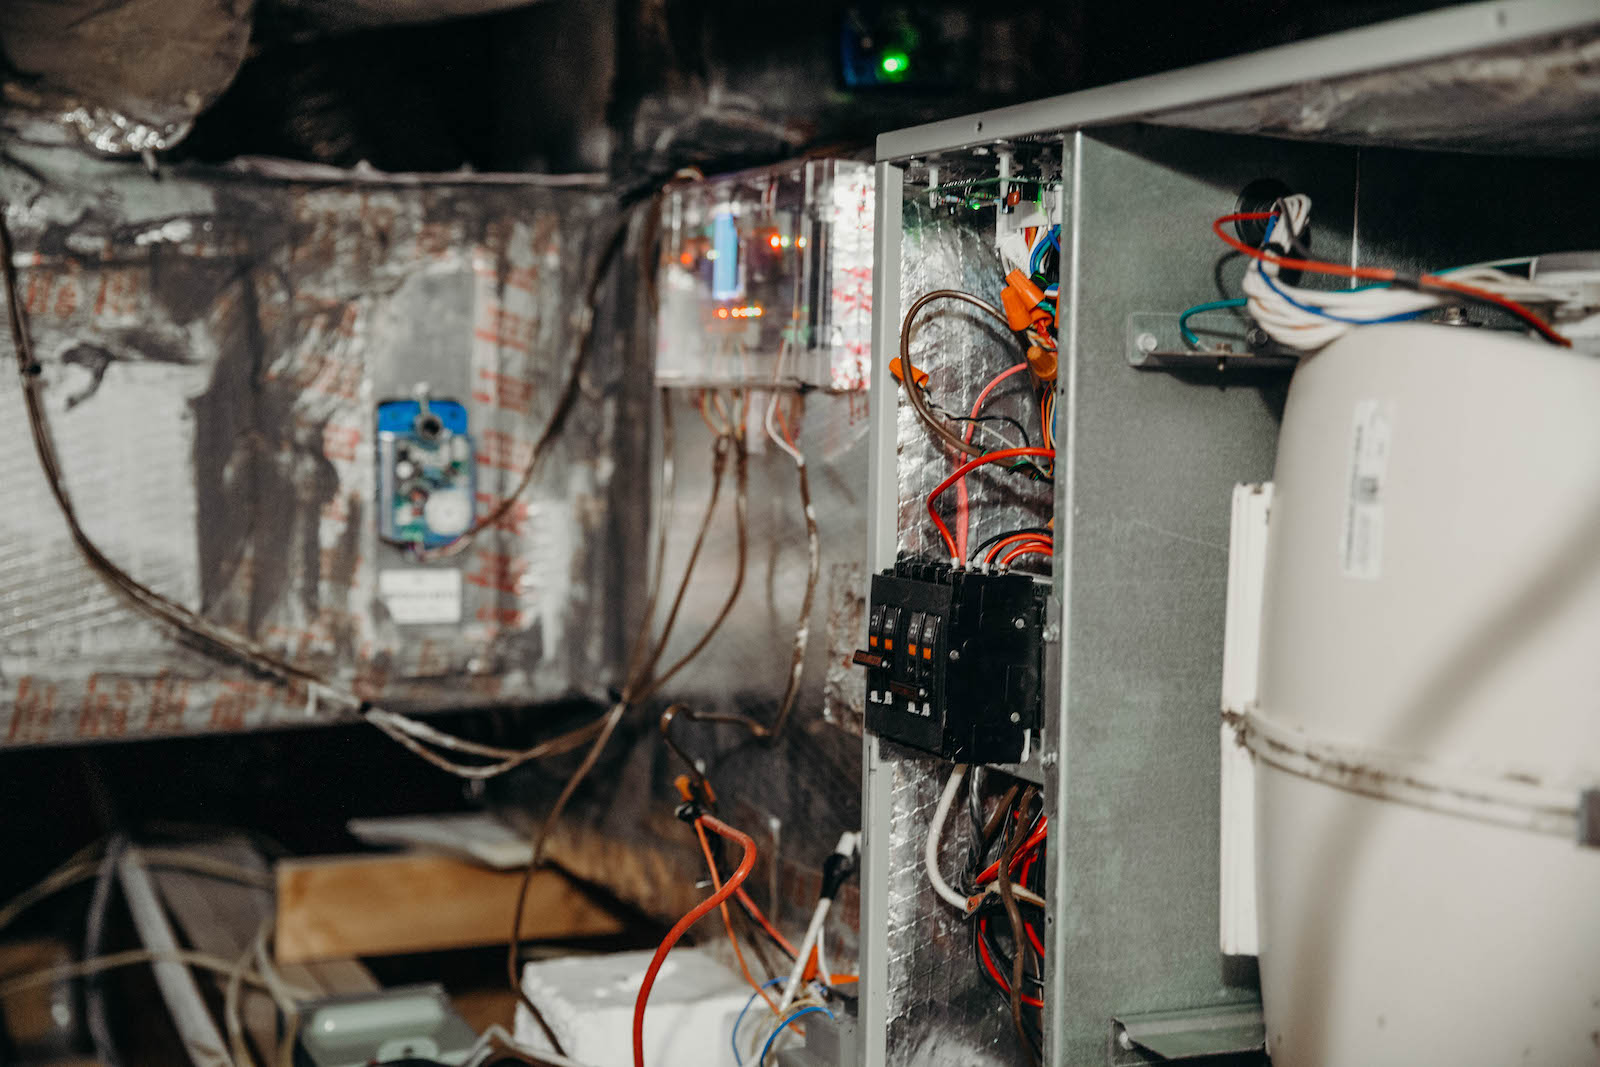
Step 6: Run Cables to Your Main Circuit Panel
Now, take your exposed wires and run them to the main circuit panel in your home. These will be either at ground level or on a low shelf in an unfinished basement, utility room, or garage. You’ll want to clearly label each cable to the room or circuit it’s leading to. Using a sharpie to mark these before you run them to the service panel is a fail-proof way of doing so.
We highly recommend hiring a professional electrician to do this last part—connecting your newly wired cables to their corresponding circuits in the service panel. To make their jobs easy, make sure to leave 4 to 5 feet of cable extra for them to work with.
Step 7: Run and Strip the Wires and Cover the Ends
Each box will have pre-cut holes that you’ll punch out using a screwdriver. These holes are where your cables go through to enter the box housing. Once you get the cables threaded through, you can staple them 8 to 10 inches from the box against the wall studs. This will keep them tight and secure with no extra hanging anywhere.
You will then strip the wires, so they are separate and ready to connect to your circuit or switch. Use a wire cover to cover each end to keep them safe until installation can be complete.
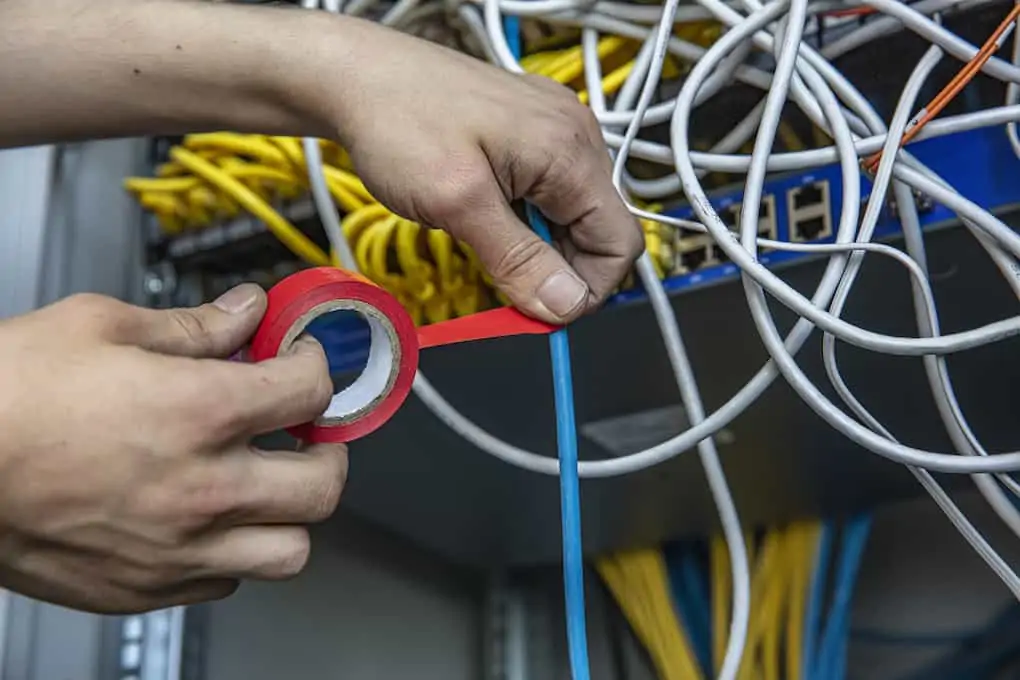
Step 8: Group and Label Your Wires
At this point, you’ll need to group and label your wires. There are many ways of doing so—the best way is with a marker and electrical tape. You can also use zip ties if they’re available or have wire labels for more specific grouping purposes. Then, when your remodel is completely done, you’ll know which groups go to your overhead lighting, the outlets, or your light switch, etc.
Step 9: Finish Your Drywall
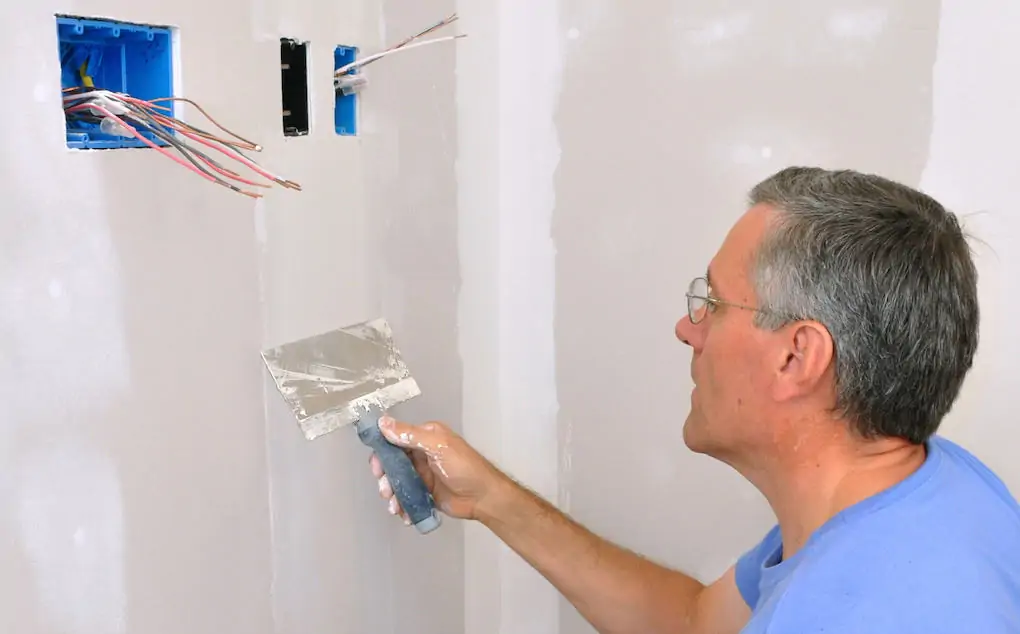
Complete your remodel! Make sure every bit of wiring is done before you finish the drywall. It’s much easier to do this now than open the wall back up to make critical repairs.
Step 10: Install Outlets, Switches, and Fixtures
Now the fun part. It’s time to install all of your outlets, light switches, and light fixtures in the room and see your handy work come to life! Check out our guide on how to safely install an electrical outlet.
As you can see, wiring a house isn’t difficult with the proper guidance and preparation. However, it might be challenging to do it all on your own—especially if this is your first time doing something like this. So if you’re looking for some help, our team of experts is ready and waiting to partner with you to make sure everything goes smoothly from start (planning) to finish (installation).
We want nothing more than for you to feel comfortable about tackling any electrical project that comes up! With these DIY tips at your disposal, we know you can handle it, and with our help, we can ensure everything goes smoothly. Remember to contact 4Front Energy if you ever need help with your electrical project!
Request Service

Why Choose 4Front Energy?
We’re a Service Company, Not a Sales Company
- Licensed, bonded & insured contractor
- Trusted Twin Cities service provider for nearly 30 years
- Reliable service excellence
- One number for electric, HVAC, and plumbing
- Stand behind our work with integrity
- Fair and straightforward pricing
- Provide invaluable comfort and integrated efficiency
- Technicians that take pride in their work